Deploy NestJS Application on Zeabur: A Step by Step Guide
 Yuhang
This guide will help you deploy your NestJS app on Zeabur in a few clicks.
What is NestJS
NestJS is a framework for building efficient, scalable Node.js server-side applications. It uses progressive JavaScript, is built with and fully supports TypeScript and combines elements of OOP (Object Oriented Programming), FP (Functional Programming), and FRP (Functional Reactive Programming).
Bootstrap a NestJS Application
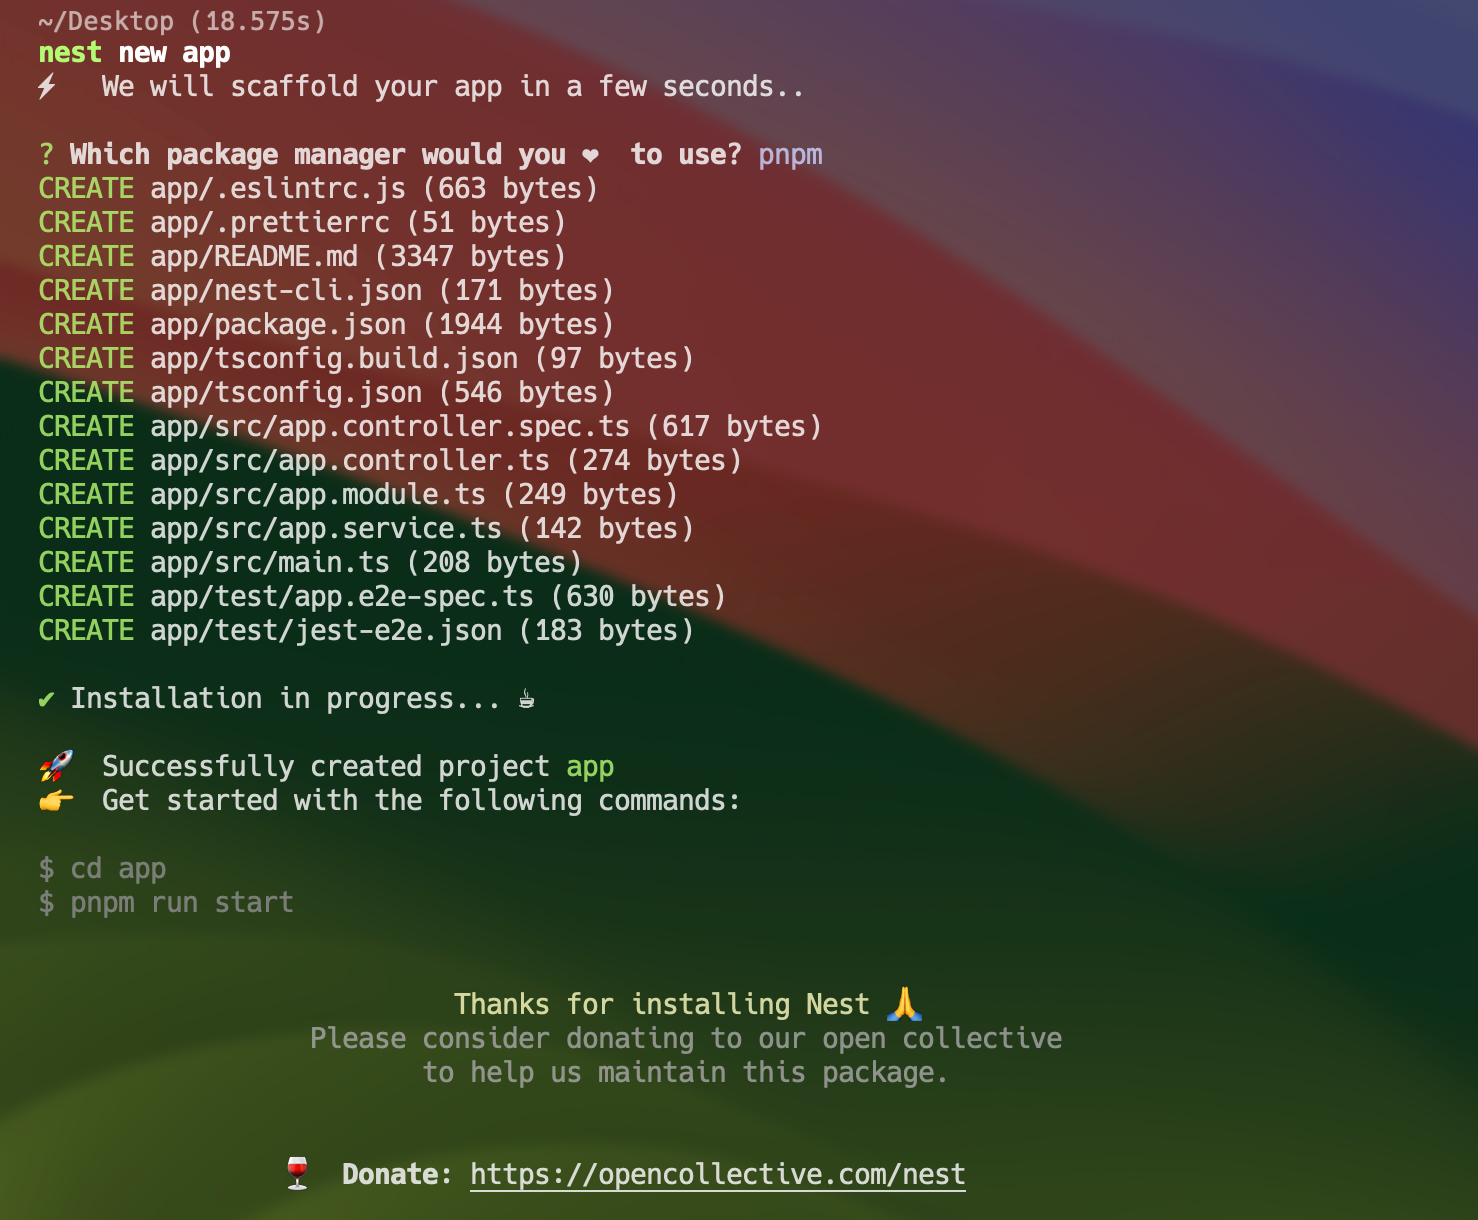
First of all, let’s get the application ready. You can use NestJS CLI to bootstrap a new application. Open your terminal and run the following command to install the CLI.
npm install -g @nestjs/cli
Then you can create a NestJS application with a single command.
nest new <your project name>
You can also clone a starter template in our GitHub.
git clone https://github.com/zeabur/nestjs-template.git <your project name>
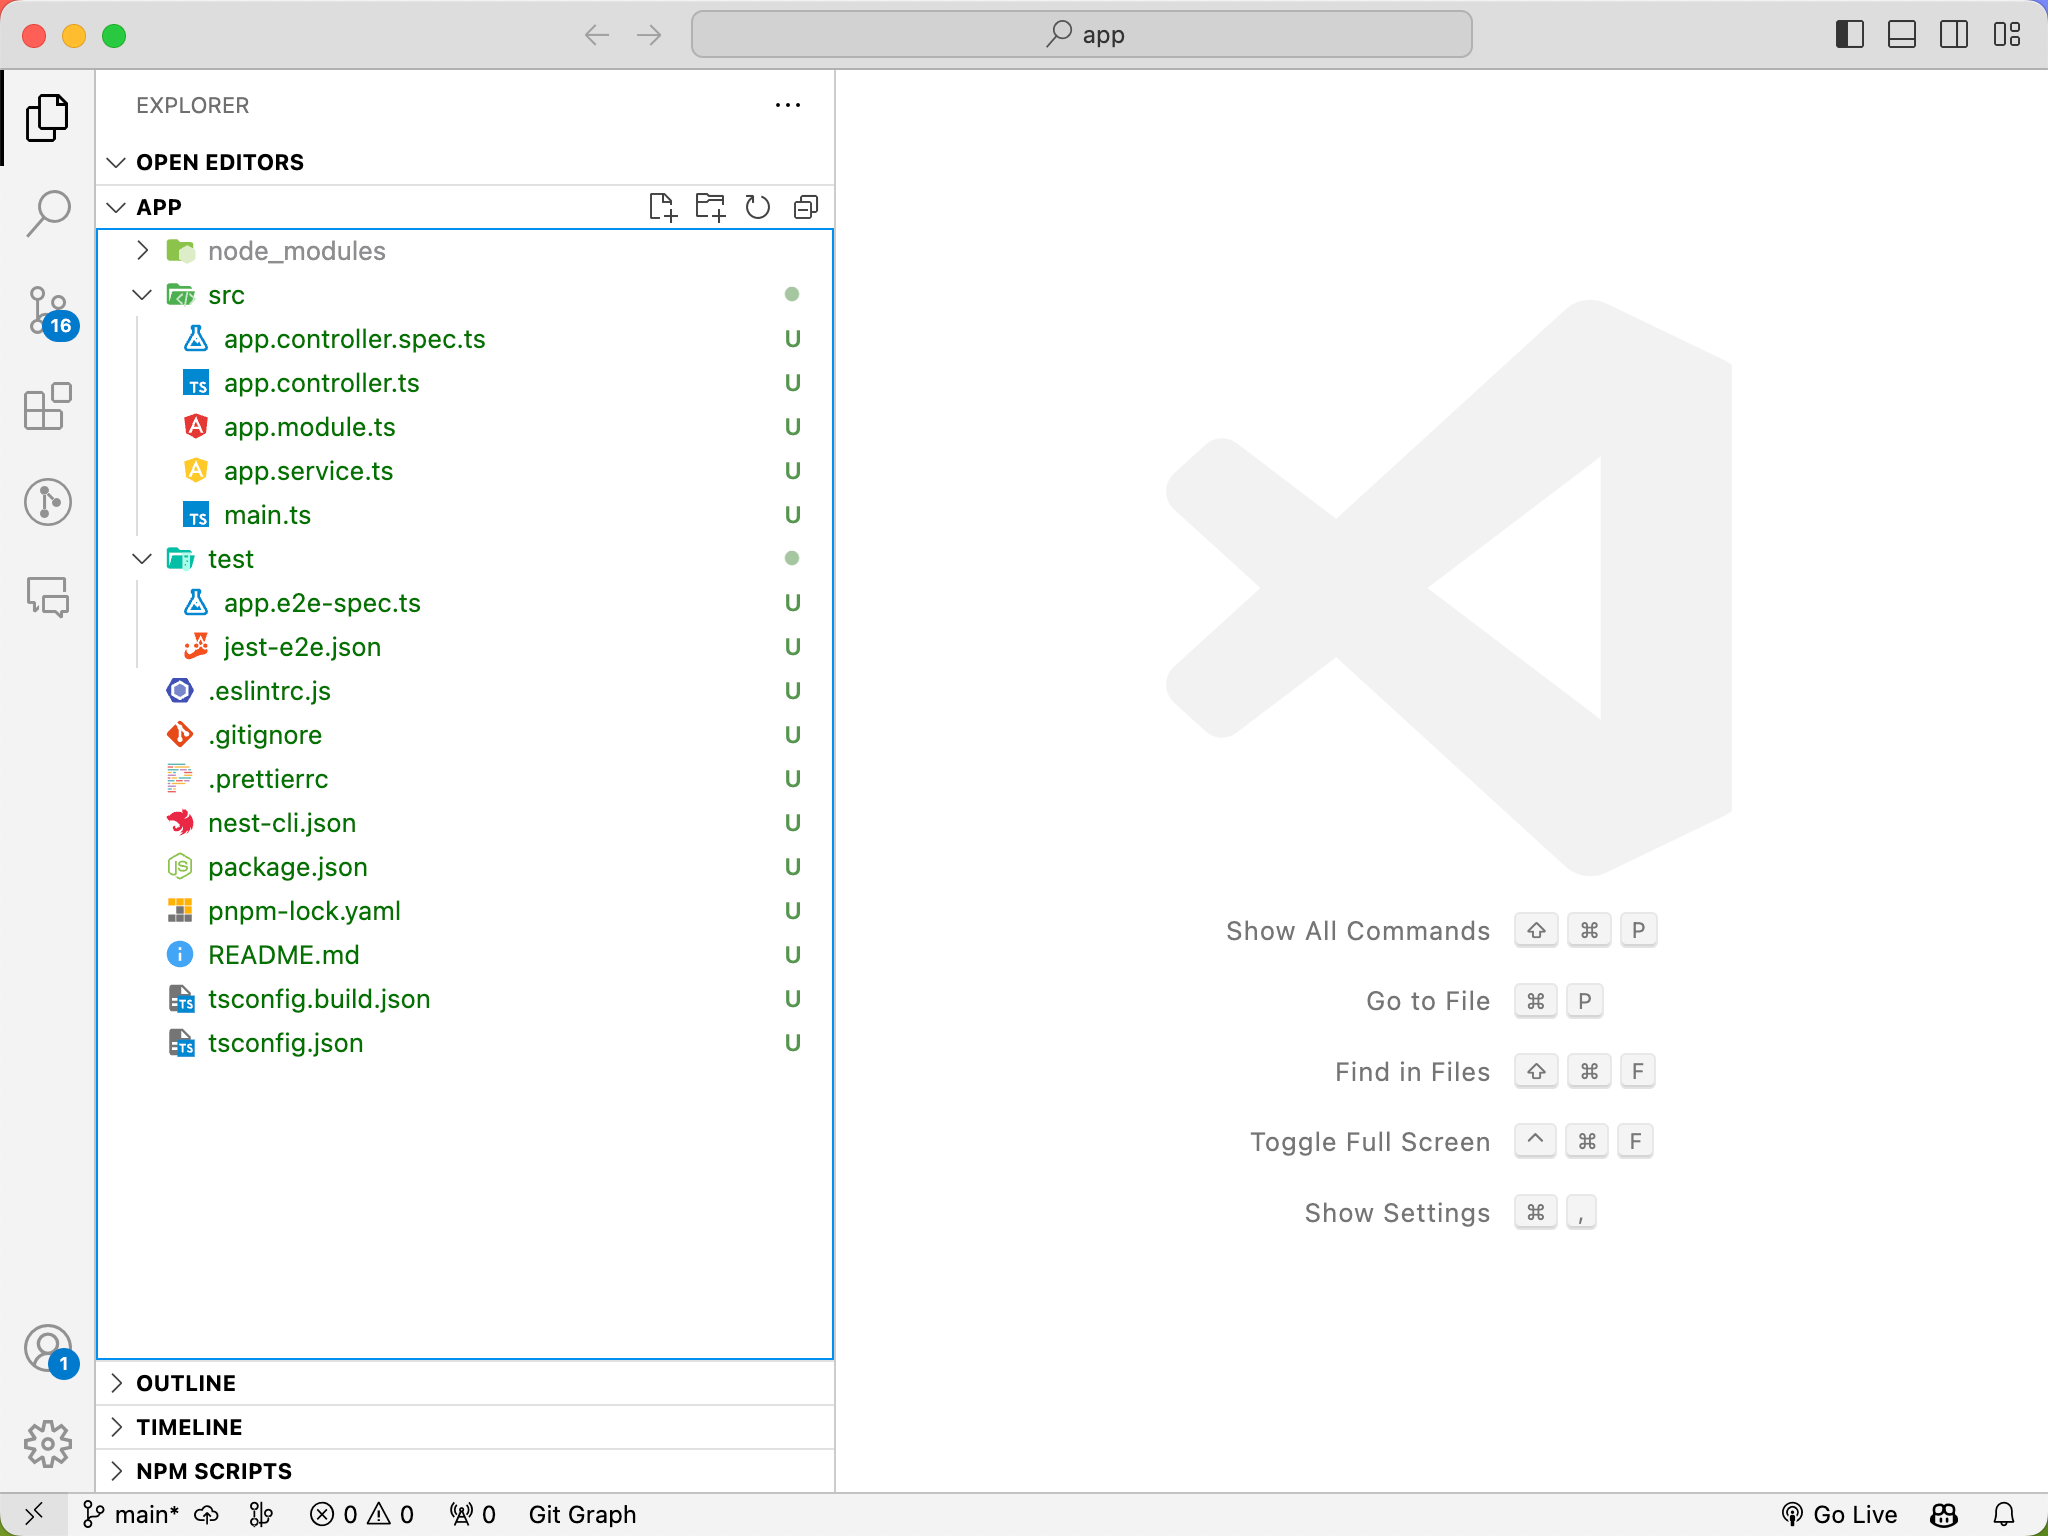
After you’ve created or cloned the application, you will get a project with a structure like the following picture.
Let’s take a look in the main.ts file, which is the entry of your application.
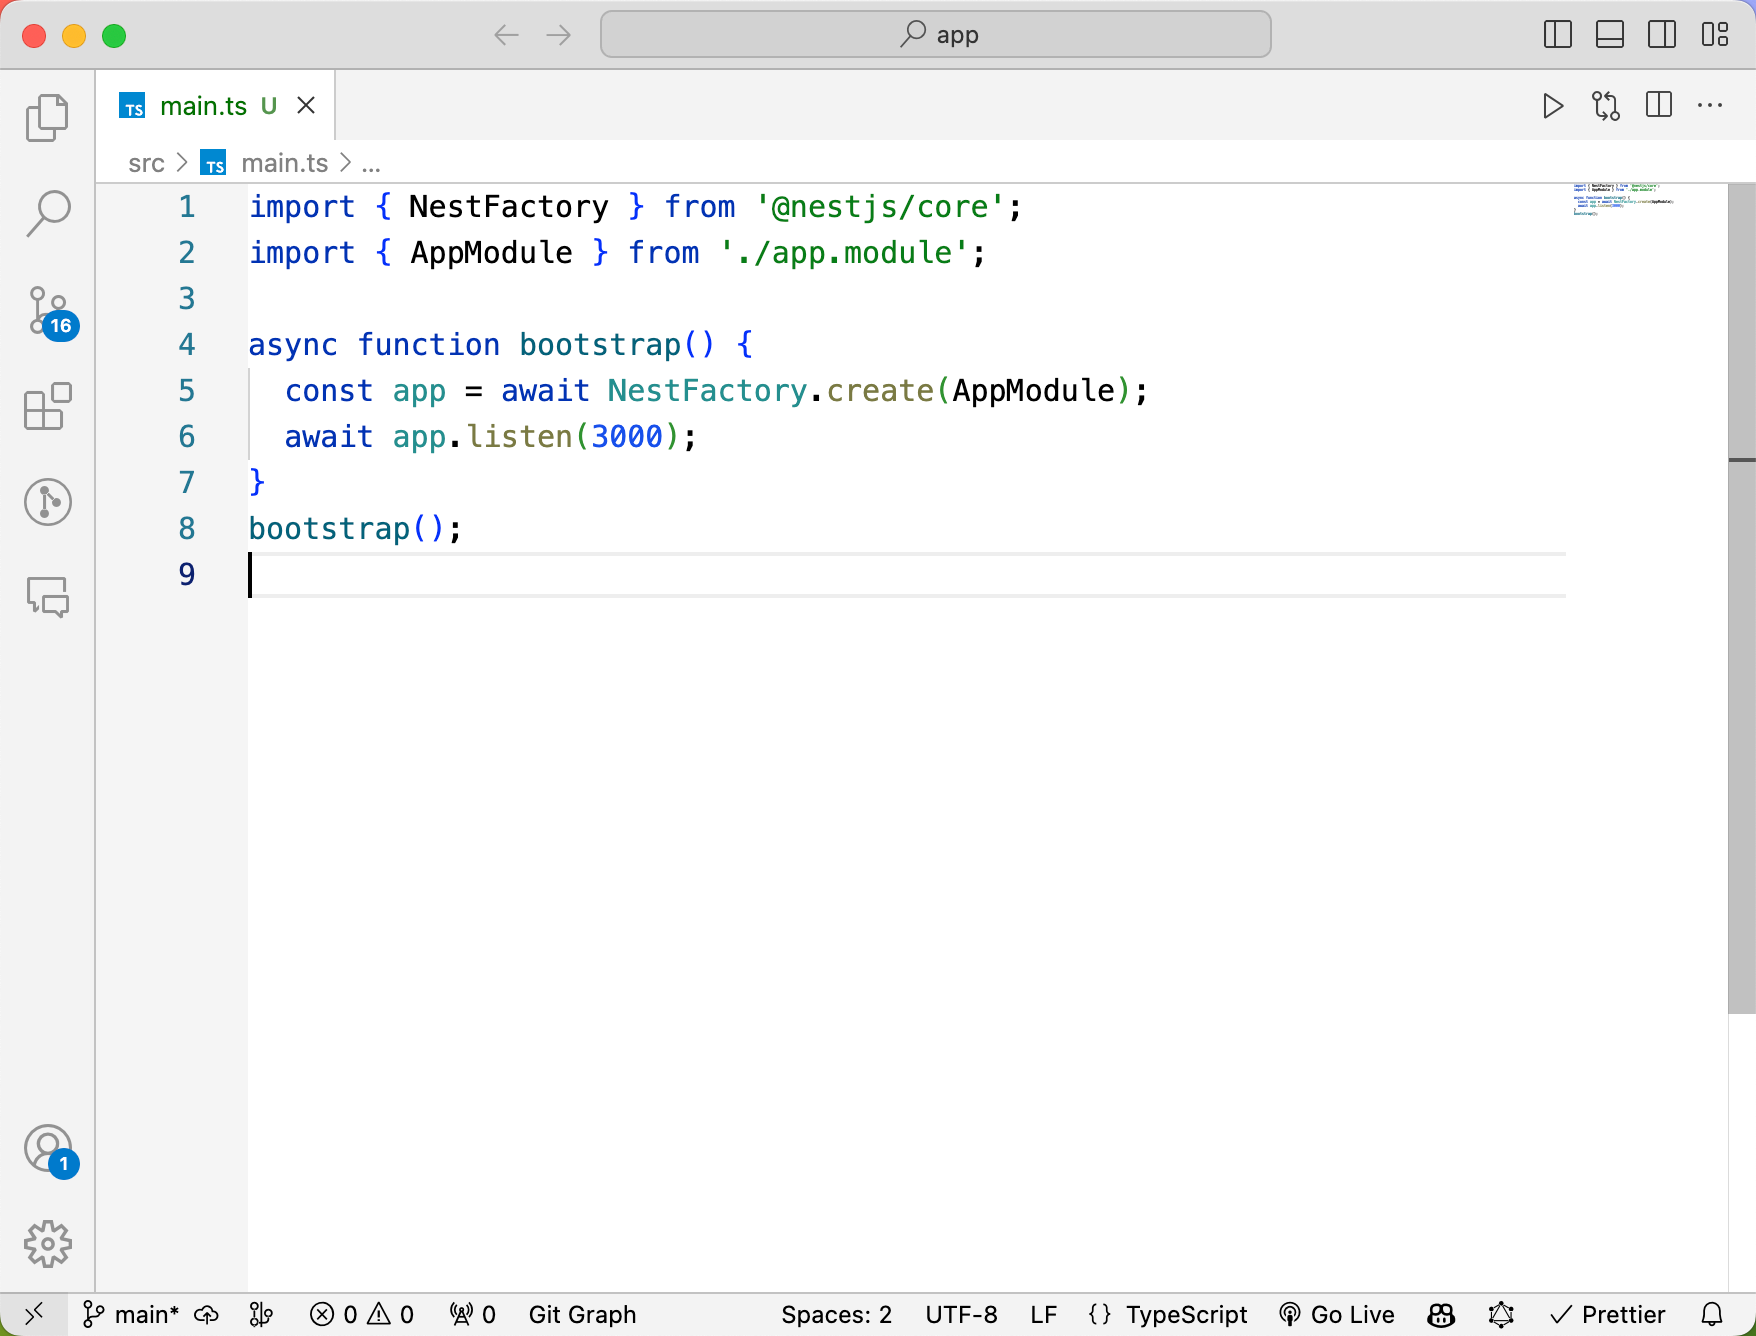
As you can see, NestJS will use a function called NestFactory to create your application from the app.module, and run the application on port 3000. You can use npm run start to start the application, and open localhost:3000 in your browser, you can see the welcome page of your NestJS app.
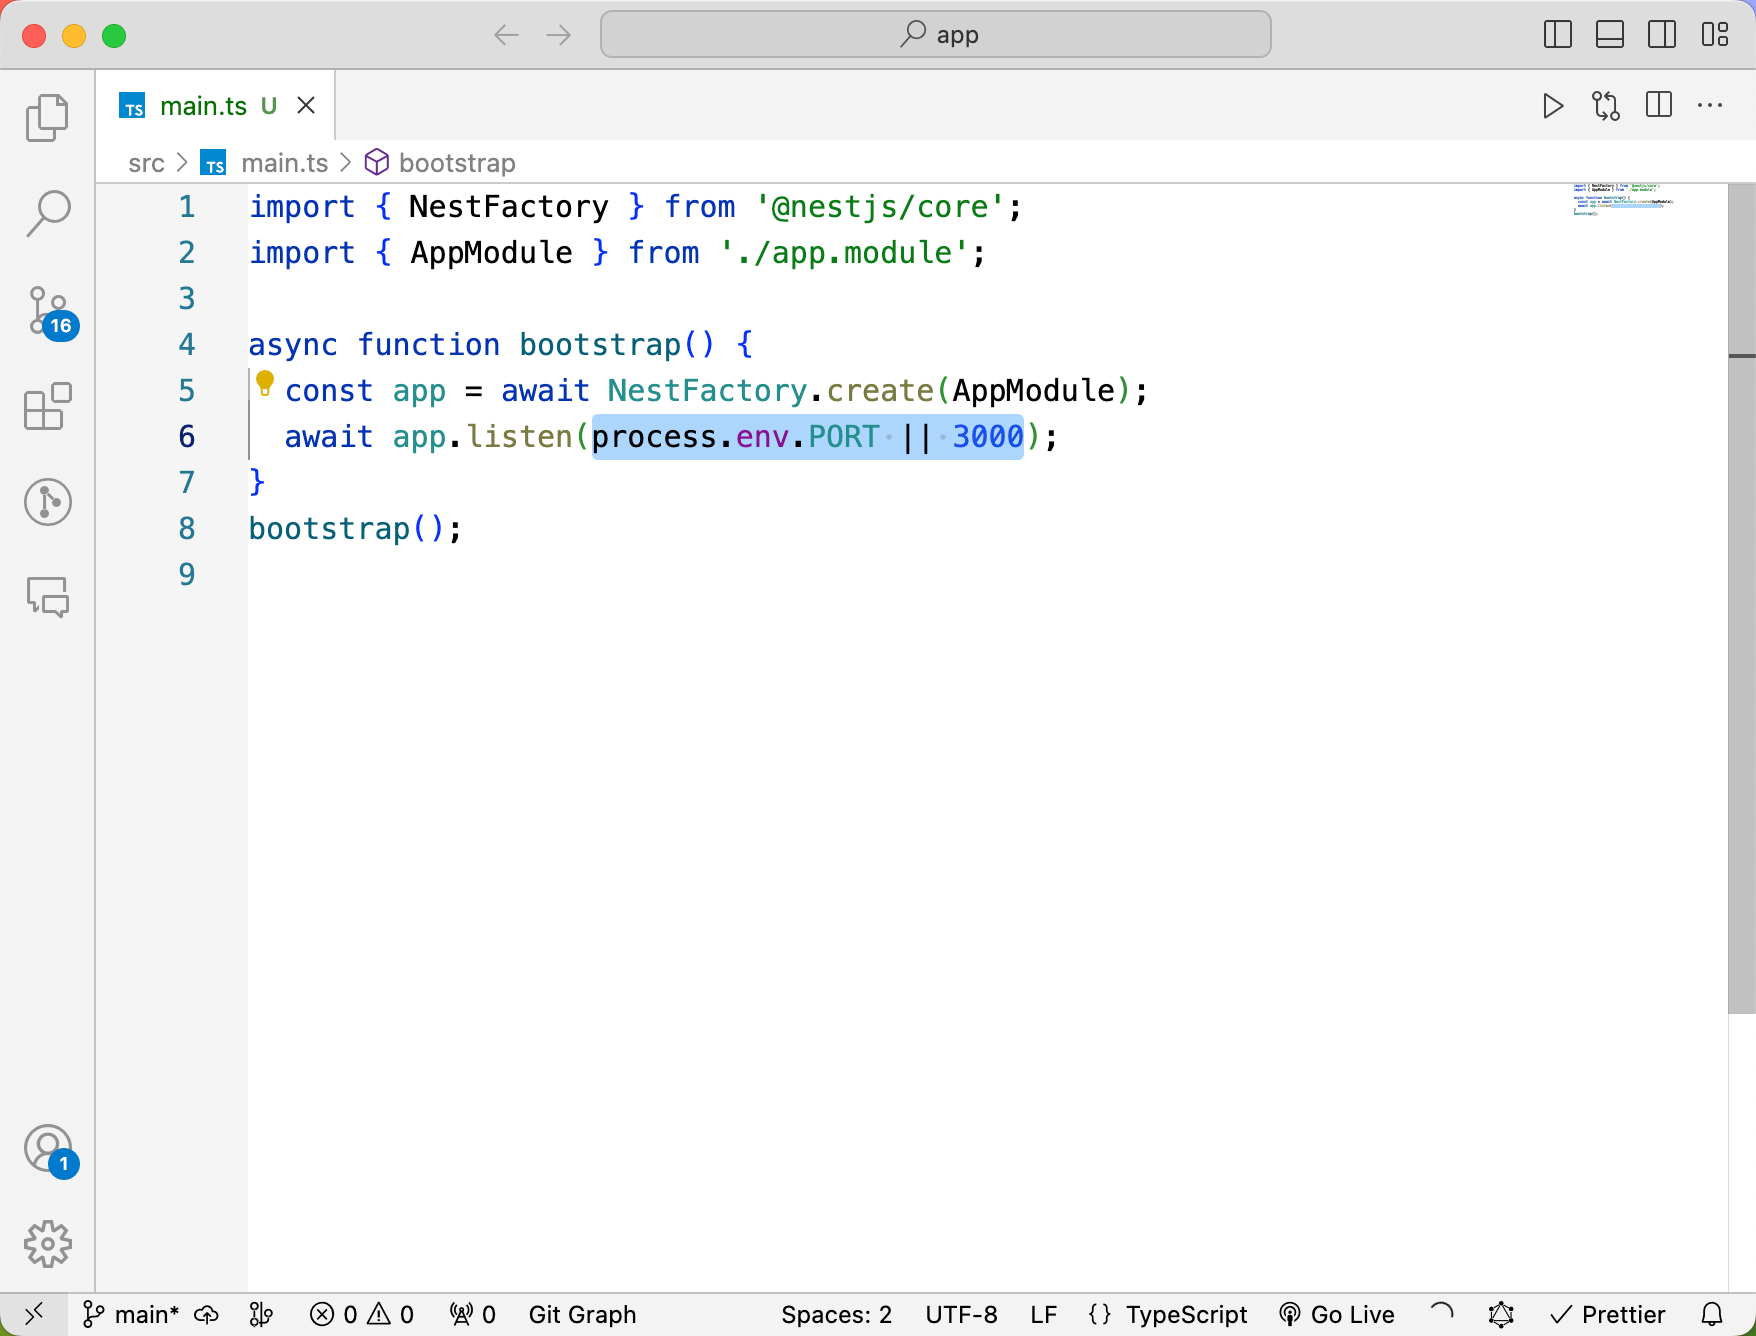
When it comes to deploy in your production environment on Zeabur, you shouldn’t use the port 3000 anymore, you need to read from process environment. You can change the port 3000 to process.env.PORT.
Now your NestJS is ready for deploying on Zeabur, all you need is to push the codes to your GitHub.
Register Zeabur Account
After your repository is ready, you need to register a Zeabur account if you still don’t have one.
Go to https://zeabur.com, press the Get Started button, and you will see a modal with a login with GitHub button, press the button and authorize Zeabur to access your GitHub, then you will get an account on Zeabur.
Deploy Your NestJS Application
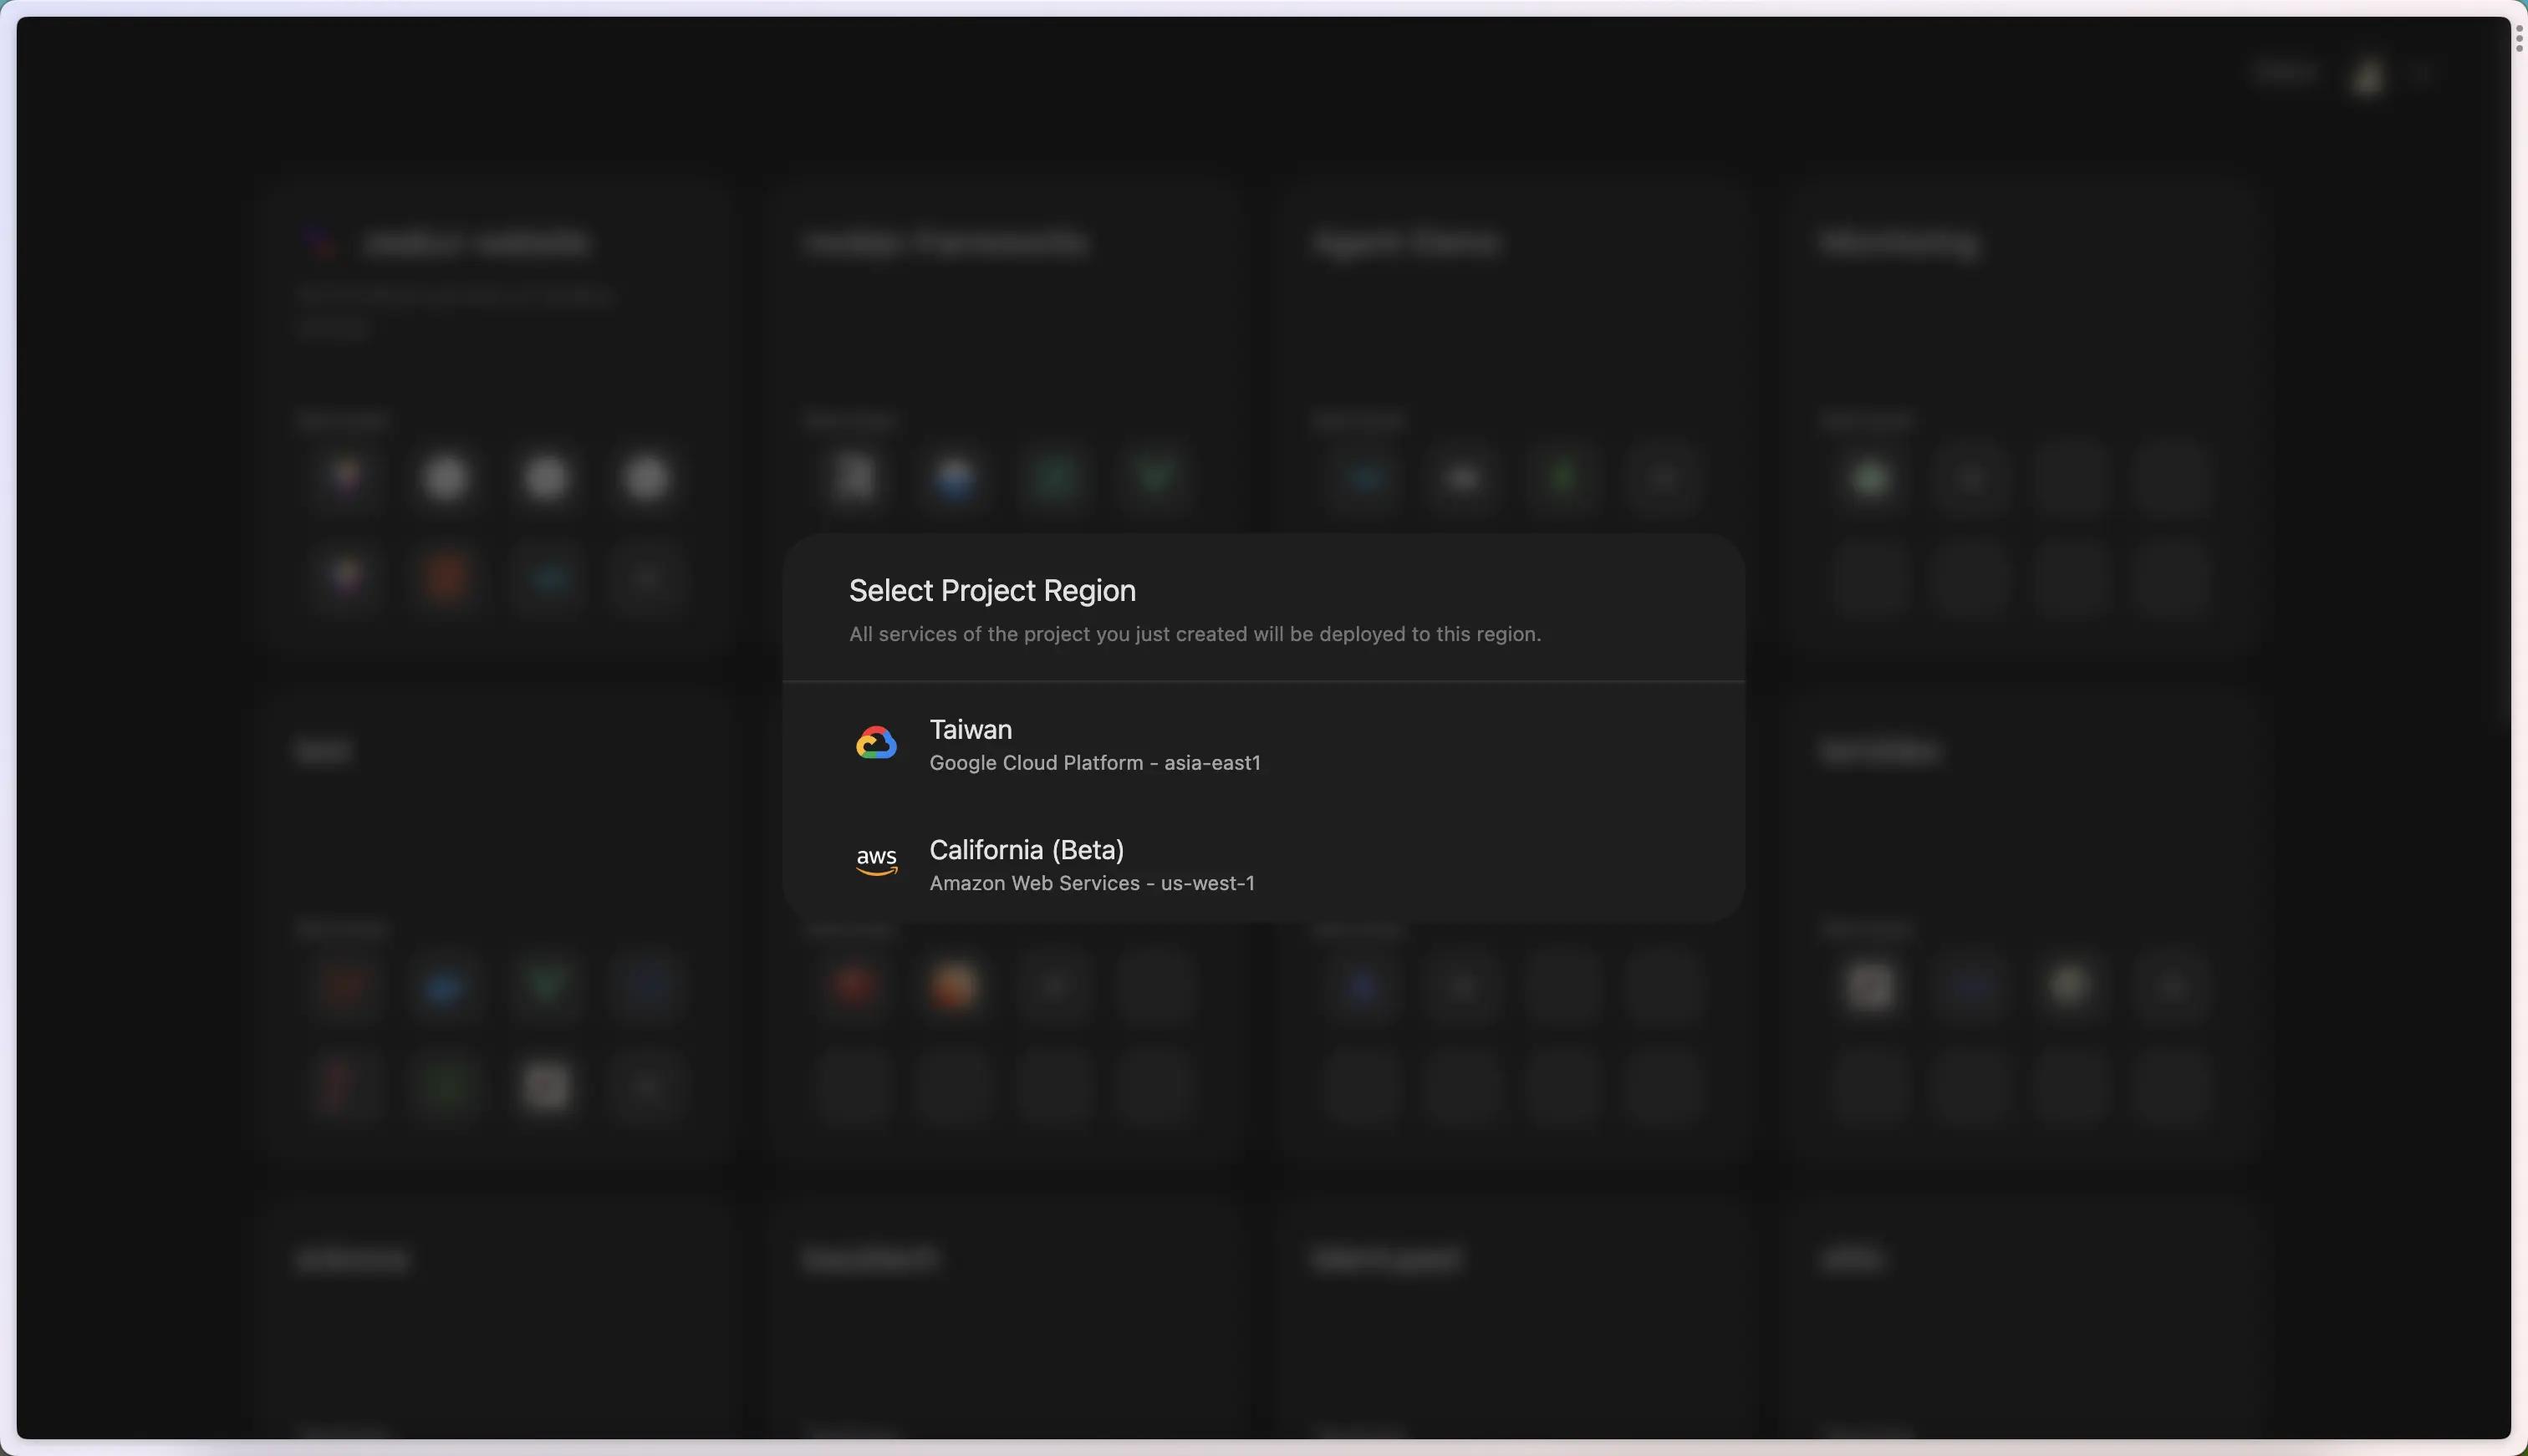
In Zeabur dashboard, press on the Create Project button and select a region you prefer, Zeabur will initialize a project in the region for you, and you will be automatically redirected to the project.
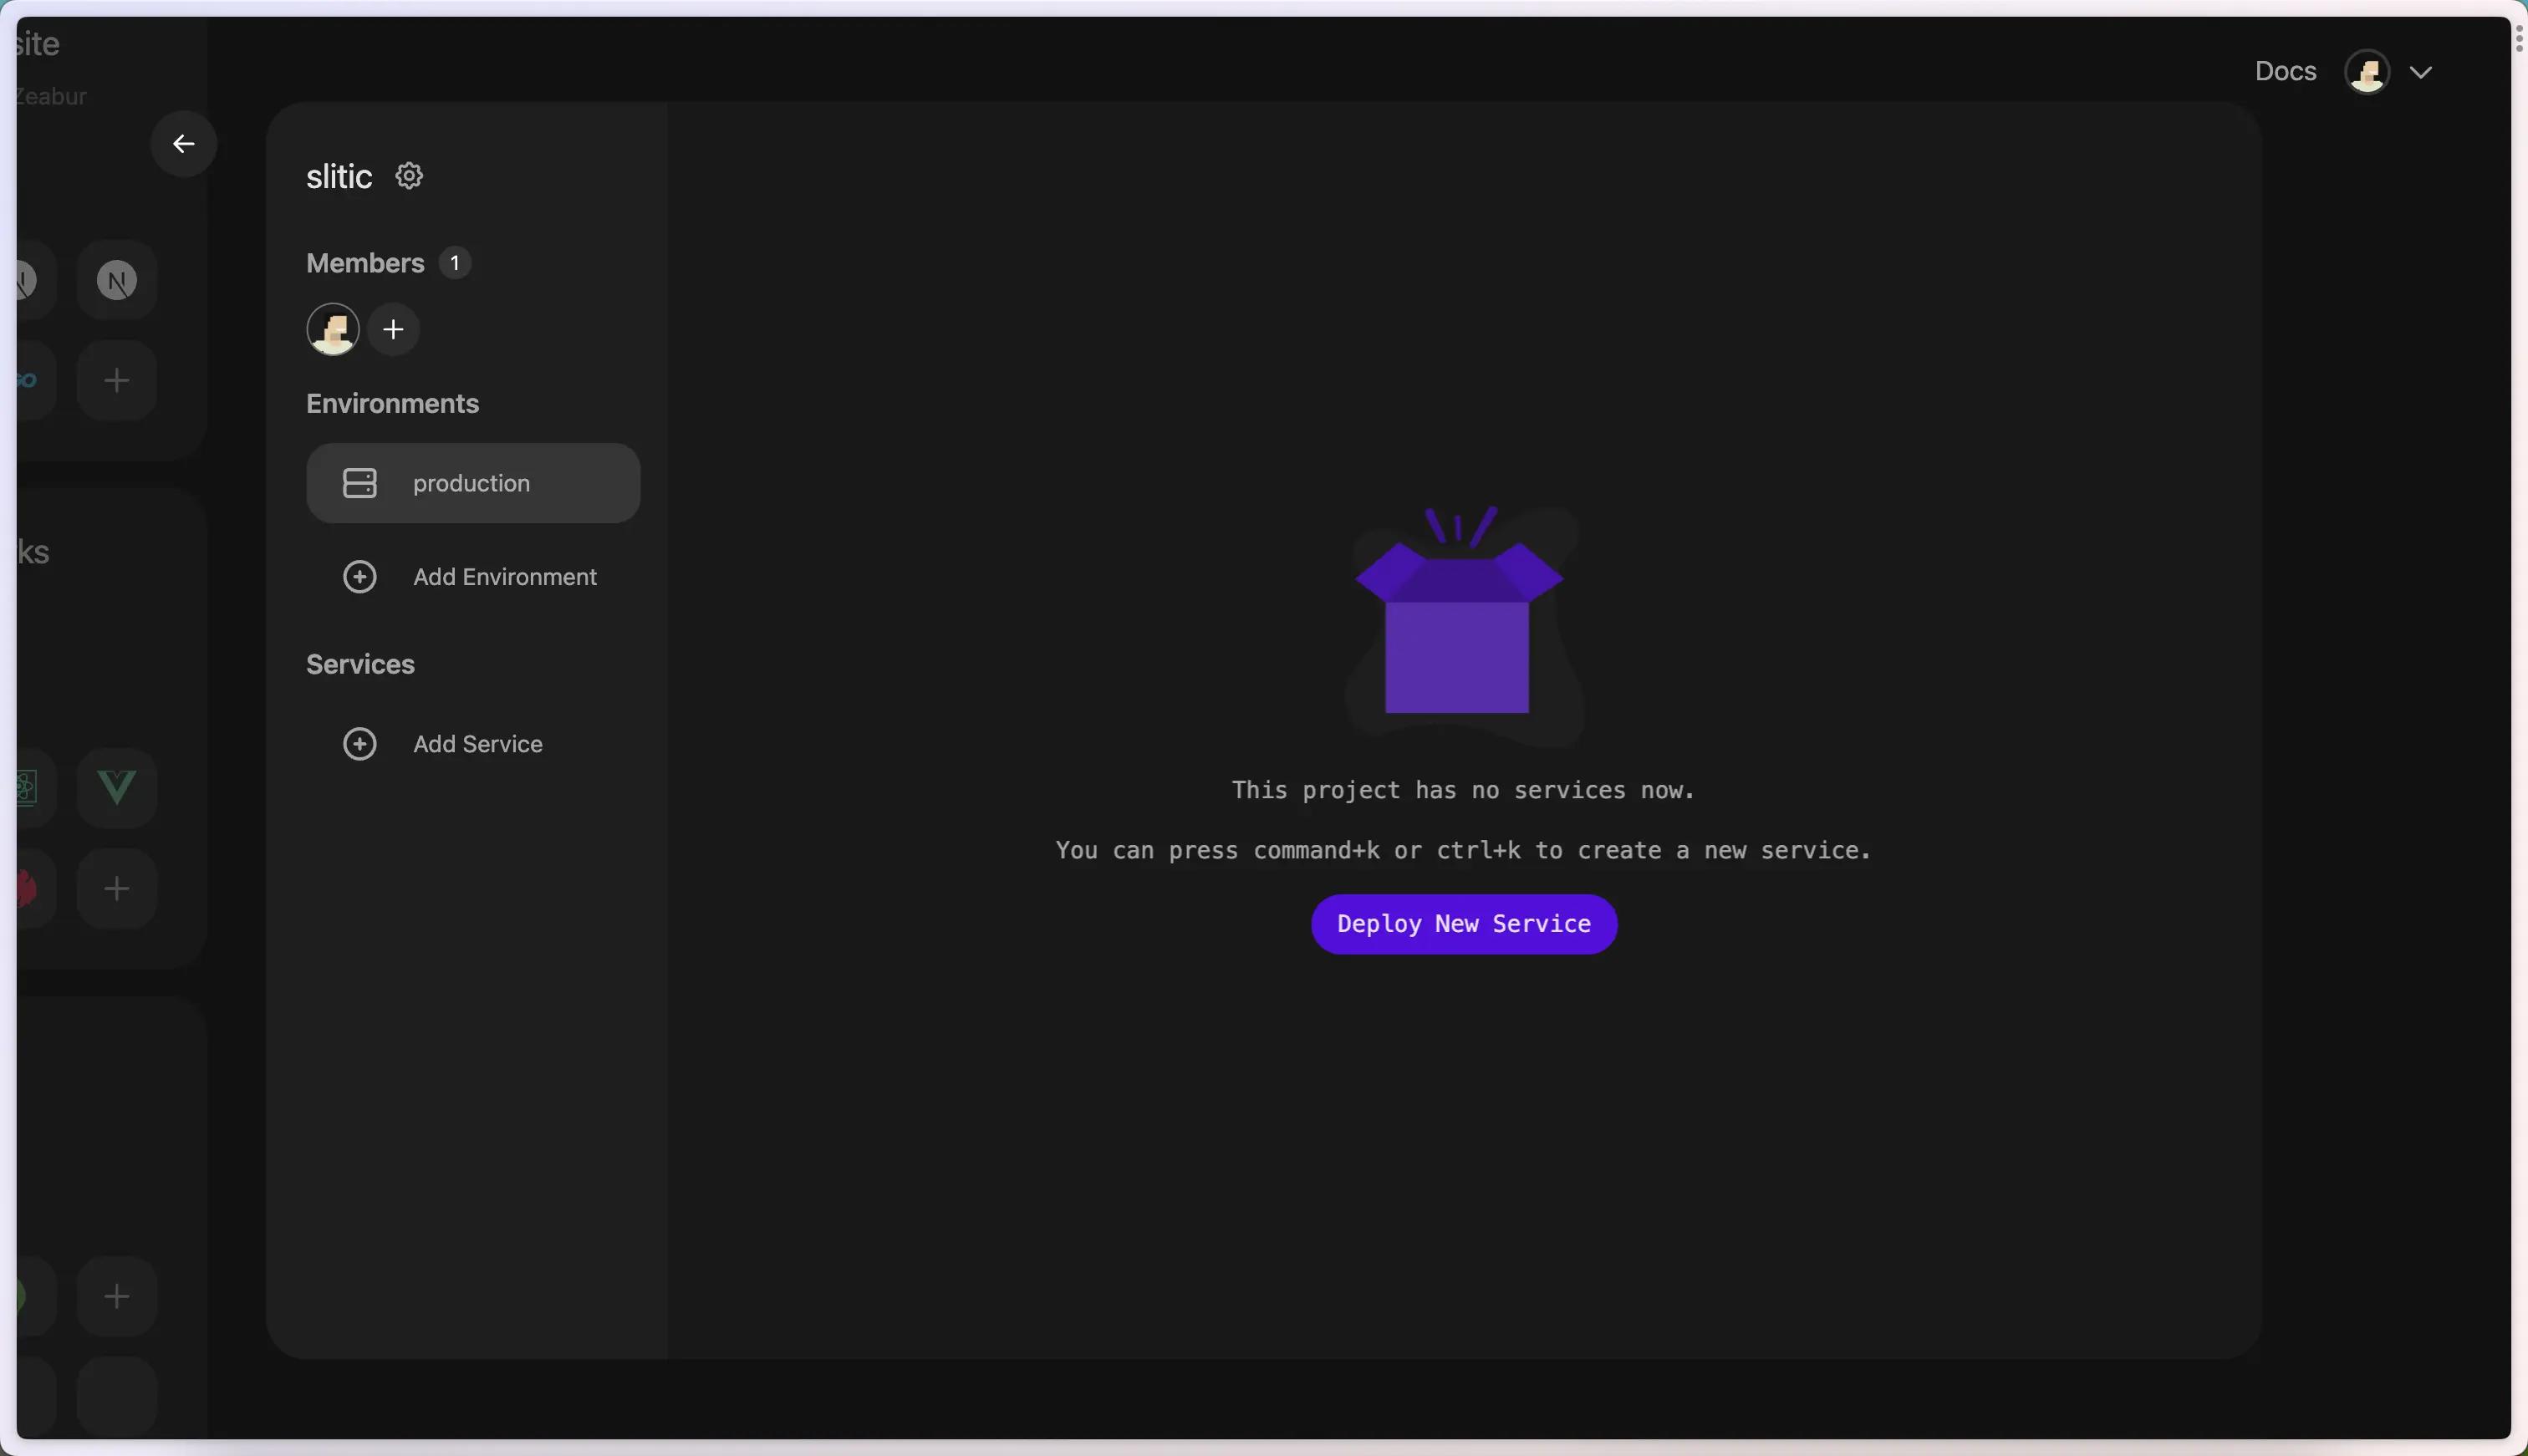
In the project page, click on Deploy New Service button, select Deploy from GitHub, and click on the configuration button to let Zeabur get access to your repository.
After the configuration is finished, just search your application and click on it to start the deployment.
The building process will last about 3 minutes, and your NestJS app is ready.
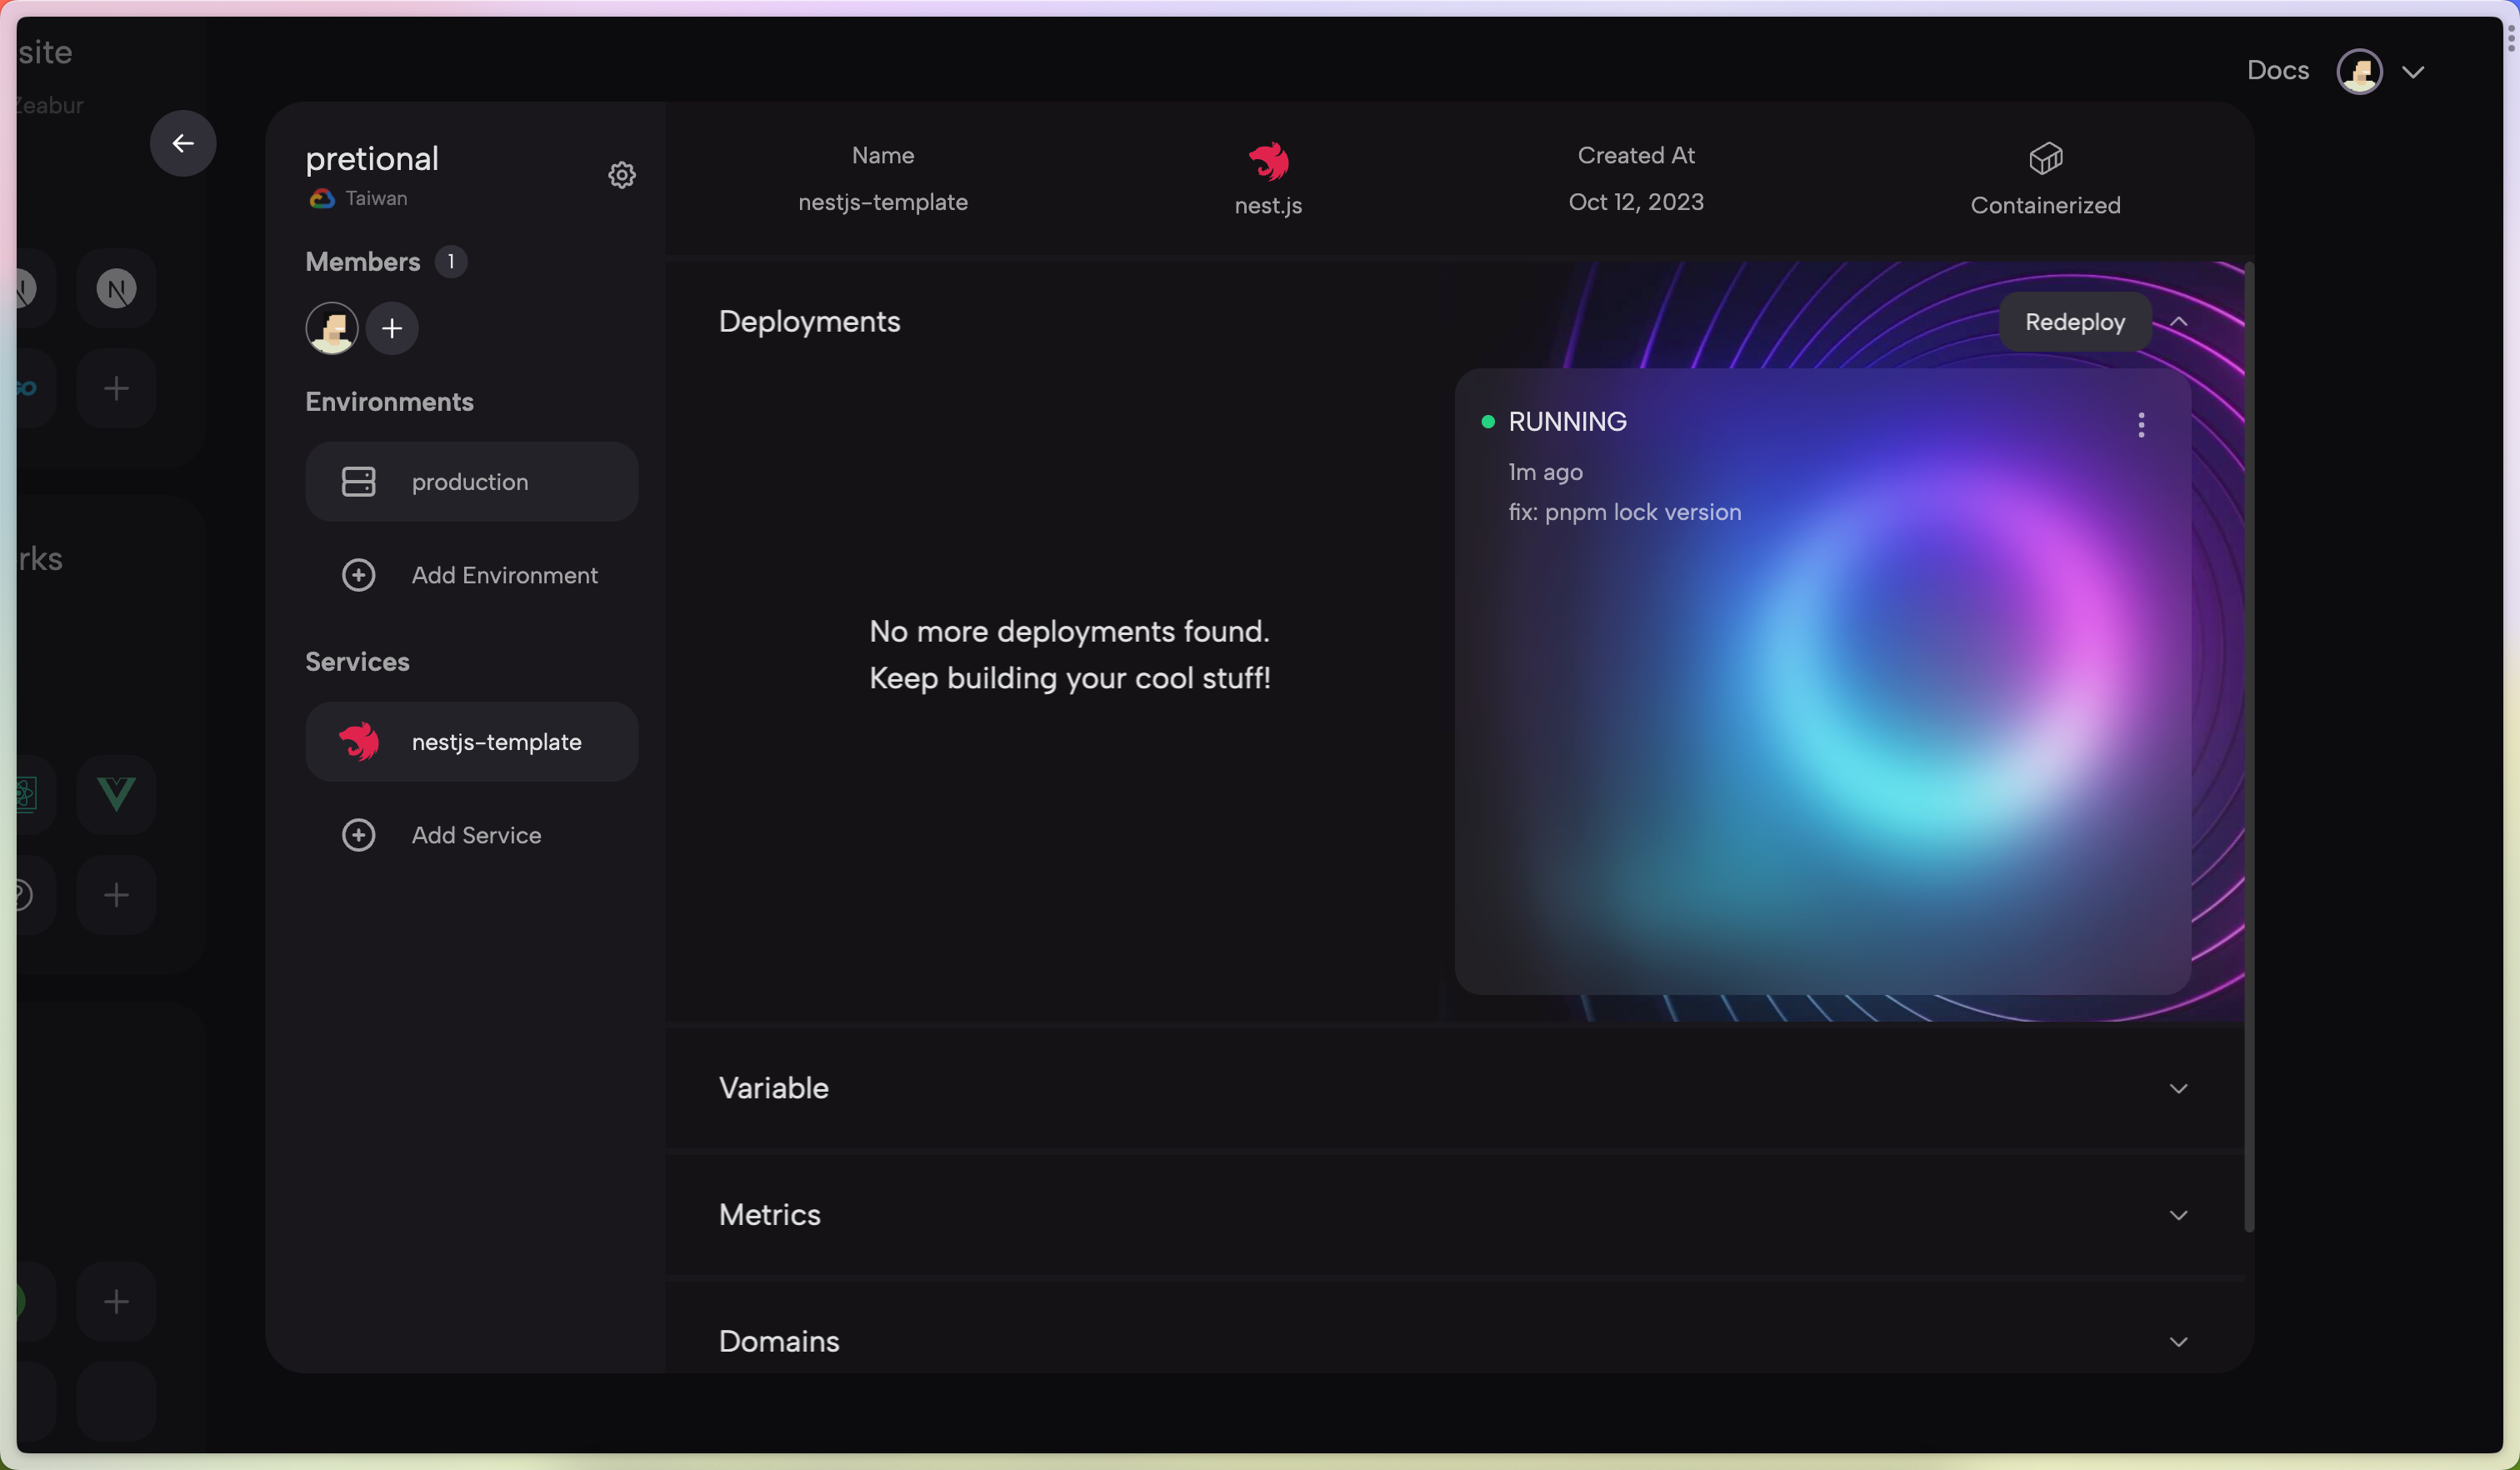
As you can see, Zeabur will automatically detect that your application’s framework is NestJS.
Bind a Domain
To visit your application, you need to bind a domain for it. Open the domain tab in the service page, you can choose Generate Domain to use a free domain with .zeabur.app suffix. Pick a valid domain and click save, then you can visit your service with the domain.
Summarize
-
NestJS: A Node.js framework that uses TypeScript, blending OOP, FP, and FRP.
-
Setup:
-
Bootstrap with NestJS CLI or use Zeabur's GitHub template.
-
Modify the default port to process.env.PORT for deployment readiness.
-
Zeabur Deployment:
-
Register via GitHub at https://zeabur.com.
-
Create a project, select region, then deploy the app using 'Deploy from GitHub'. Zeabur auto-detects the NestJS framework.
-
Bind a domain for accessibility. Use Zeabur's 'Generate Domain' for a free .zeabur.app domain. Assign, save, and go live.