部署 Spring Boot 專案
這篇文章將會教你如何在 Zeabur 上部署你的 Spring Boot 專案。
第一步:環境配置
你可以先在本機測試建置,確保你的專案可以正常運作,可使用 JDK 版本為:
- 19
- 17(預設)
- 11
- 8
- 7
指定 JDK 版本
你可以在 pom.xml 或 build.gradle 中指定 JDK 版本。
例如,如果你使用 Maven,請在 pom.xml 加入以下設定:
<properties>
    <java.version>11</java.version>
</properties>
如果你使用 Gradle,請在 build.gradle 加入以下設定:
sourceCompatibility = 11第二步: 建立專案(可選)
首先,你需要在本機開發環境初始化一個 Spring Boot 專案,我們可以按照 Spring Boot 官方文件 的指示來完成這個步驟,或是依據你喜好的 IDE(例如 IntelliJ IDEA 或 Eclipse 等等),初始化 Spring Boot 專案。
若使用 Gradle 部署工具,需在 Gradle 專案中打開 build.gradle 檔案,加入以下設定:
jar {
    enabled = false
    manifest {
        attributes 'Main-Class': 'com.example.demo.DemoApplication' // <-- 這裡請填入你的專案啟動 class 名稱
    }
}
建立完畢後,為其初始化一個 Git 儲存庫並部署到你的 GitHub 上。
第三步:部署 Spring Boot 專案
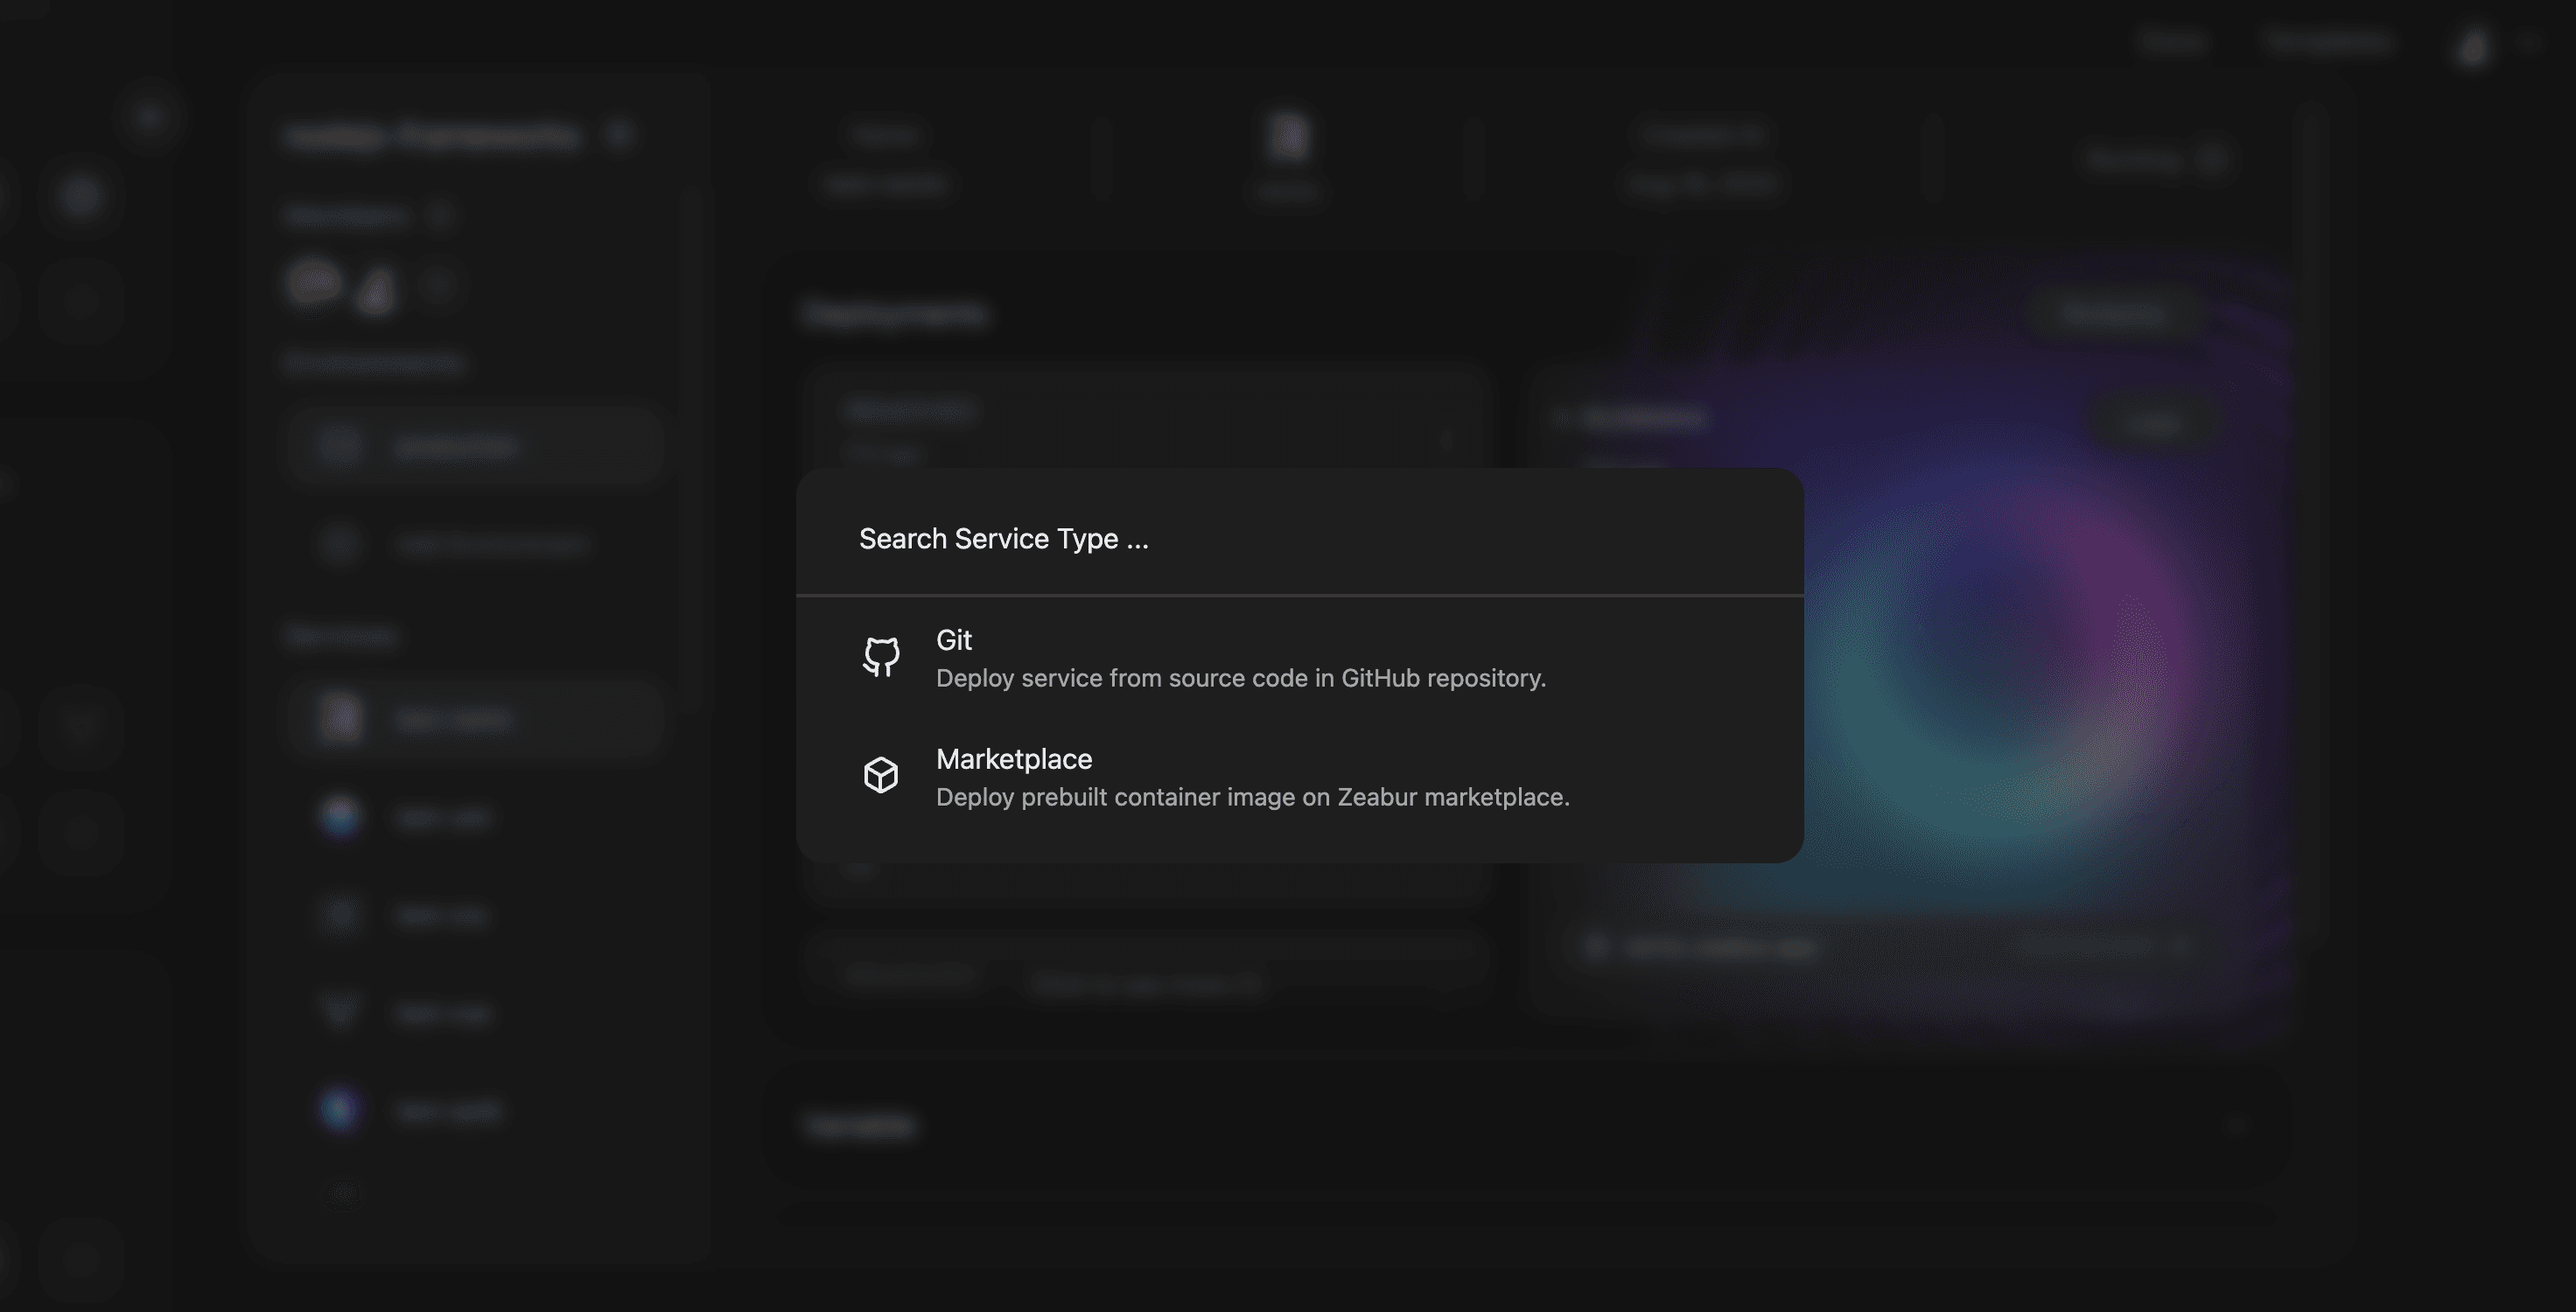
在你的專案中,點選 Deploy service 或者 Add new service 按鈕,並選擇 Deploy your source code.

搜尋想要部署的 Spring Boot 程式碼儲存庫,並點選匯入,你的 Spring Boot 應用程式就將自動開始部署。