部署 Deno 專案
本文將會教你如何在 Zeabur 上部署你的 Deno 專案。
利用 TypeScript 建立 Deno 應用程式 (可選)
-
請先在你的電腦上安裝 Deno。
-
你可以在 Deno 官方文件 中找到更詳細的說明。
建立一個新檔案 main.ts。
touch main.ts將以下內容加入你的 main.ts。
記得在 serve 函數中將連接埠參數 port 的值修改為 Deno.env.get("PORT"),使應用程式能夠正確監聽在 Zeabur 給定的環境變數 PORT 上。
// in main.ts
import { serve } from "https://deno.land/[email protected]/http/server.ts";

function handler(_req: Request): Response {
  return new Response("Hello, this is a Deno (https://deno.land/) web app deployed on Zeabur (https://zeabur.com)");
}

serve(handler, { port: Deno.env.get("PORT") });
建立一個新檔案 deno.json,並將以下的 start 指令加入 tasks 欄位。
touch deno.json
# in deno.json
{
  "tasks": {
    "start": "deno run --allow-net --allow-env --allow-read main.ts"
  }
}
開發專案
執行 deno task start 以啟動開發伺服器。
deno task start接下來,你就可以開始修改程式碼來開發你的 Typescript 專案了。
當你完成時,為其初始化一個 GitHub 儲存庫,並上傳到你的 GitHub。
部署專案
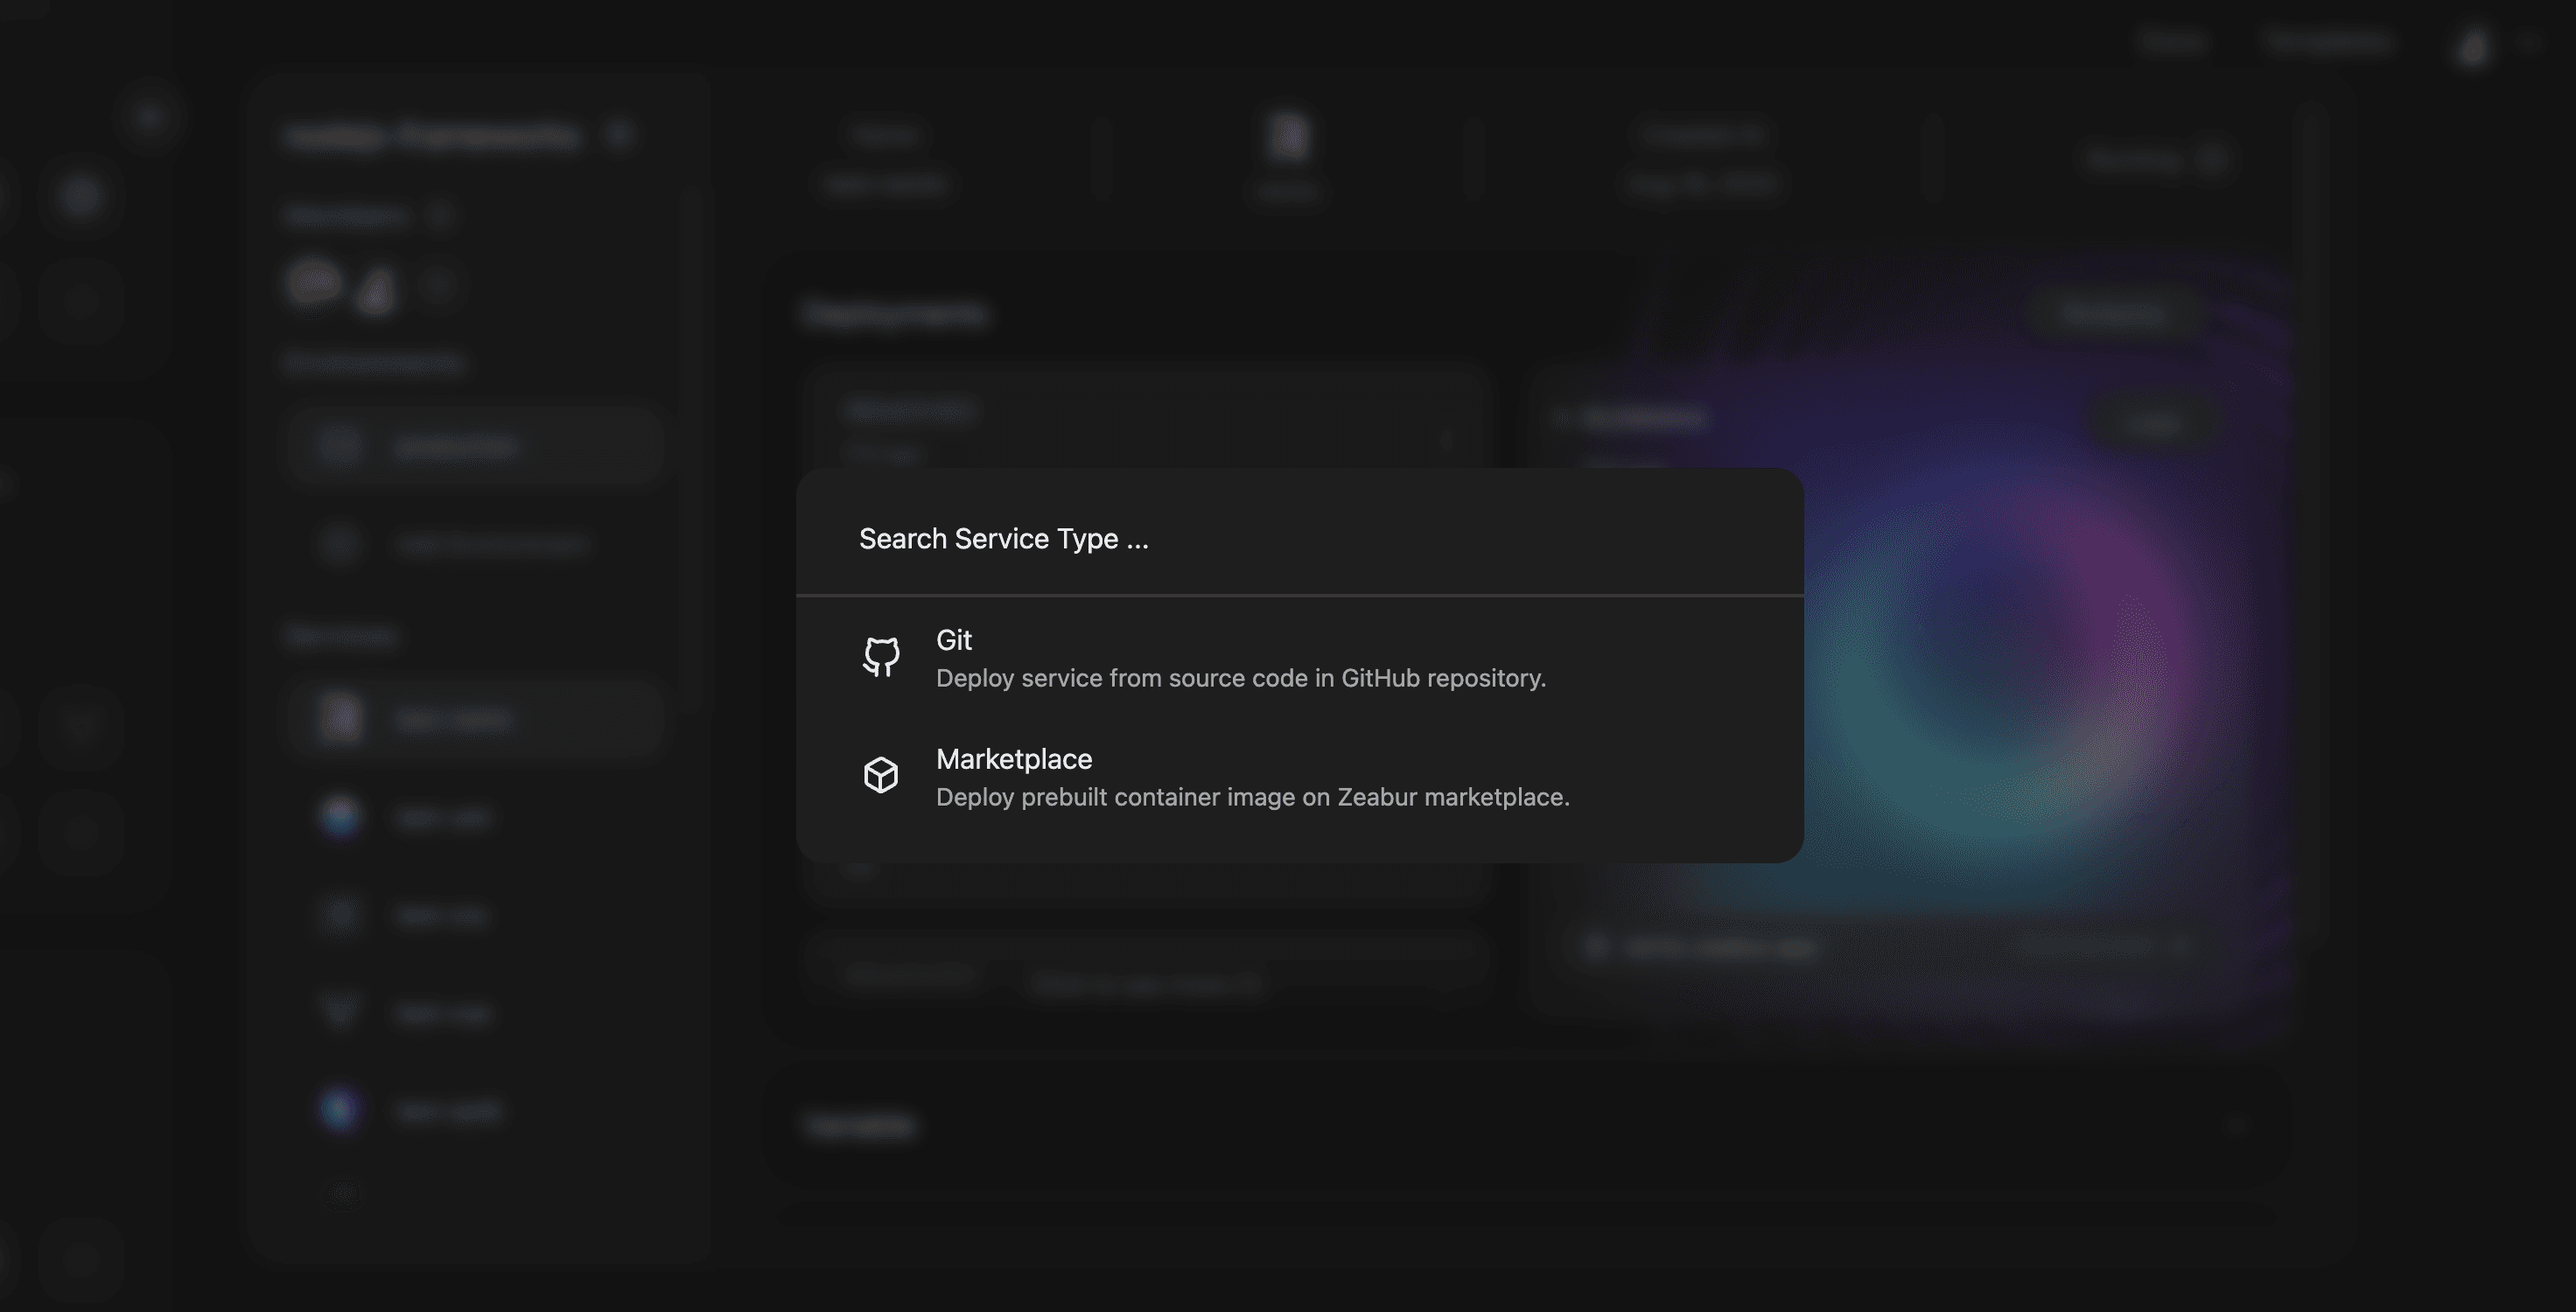
在你的專案中,點選 部署新服務 按鈕,並選擇 部署你的程式碼。

搜尋想要部署的 TypeScript 程式碼儲存庫,並點選匯入,你的 TypeScript 應用程式就將自動開始部署。
部署完成後,你可以參考 綁定網域 文件瞭解如何為你的 TypeScript 專案綁定一個能夠讓外部造訪的公開網域。