Deploy Spring Boot
This article will teach you how to deploy your Spring Boot project on Zeabur.
Step 1: Environment Configuration
You can test and build locally first to make sure your project can run normally.
The JDK version available on Zeabur is as follows:
- 19
- 17 (default)
- 11
- 8
- 7
Specify JDK Version
You can specify the JDK version in pom.xml or build.gradle.
For example, if you use Maven, add the following settings in pom.xml:
<properties>
    <java.version>11</java.version>
</properties>
If you use Gradle, add the following settings in build.gradle:
sourceCompatibility = 11Step 2: Create a Project (Optional)
First, you need to initialize a Spring Boot project in your local development environment. We can follow the instructions in the Spring Boot official document to complete this step, or initialize a Spring Boot project according to your favorite IDE (such as IntelliJ IDEA or Eclipse).
If you use the Gradle deployment tool, you need to open the build.gradle file in the Gradle project and add the following settings:
jar {
    enabled = false
    manifest {
        attributes 'Main-Class': 'com.example.demo.DemoApplication' // <-- Please replace with your own main class
    }
}
After creation, initialize a Git repository for it and deploy it to your GitHub.
Step 3: Deploy Spring Boot Project
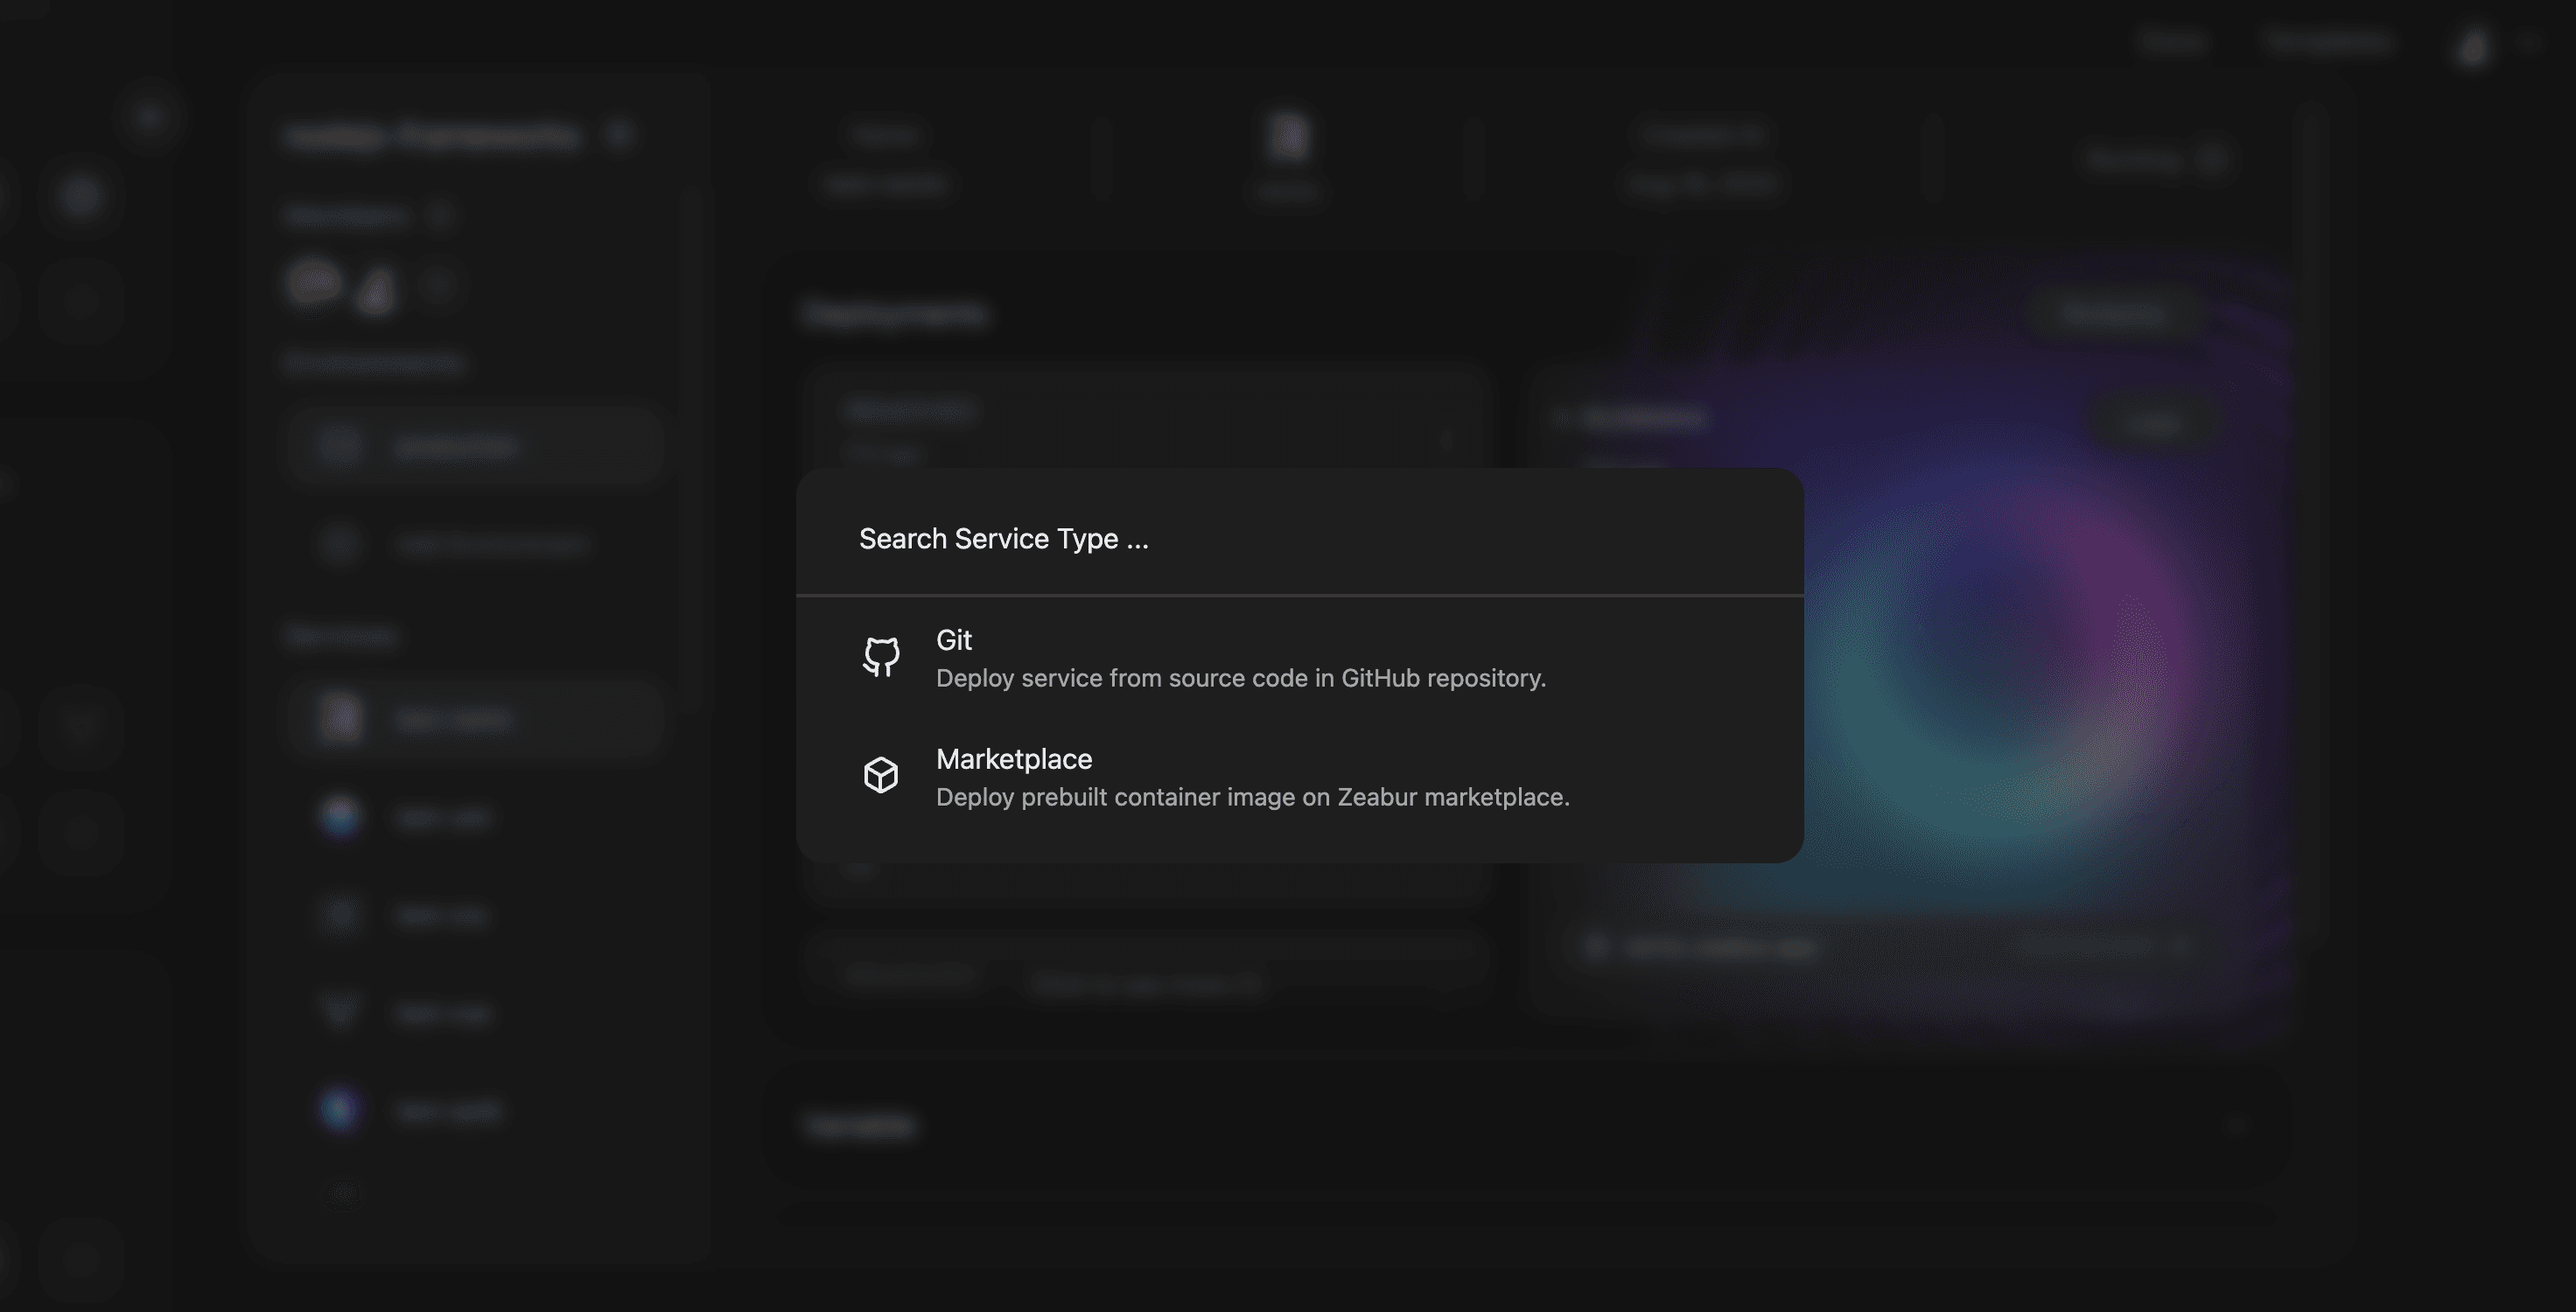
In your project, click the Deploy service or Add new service button, and select Deploy your source code.

Search for the Spring Boot code repository you want to deploy, and click Import. Your Spring Boot application will automatically start deploying.