Deploy Deno App in TypeScript
This article will teach you how to deploy your Deno project on Zeabur.
Create Deno App in TypeScript (Optional)
-
Install Deno on your computer.
-
You can see a more detailed instruction in Deno’s official documentation.
Create a new file main.ts.
touch main.tsAdd the following to your main.ts.
Remember modify the port to Deno.env.get("PORT") in your serve function to make sure the application can listen correctly on the environment variable PORT given by Zeabur.
// in main.ts
import { serve } from "https://deno.land/[email protected]/http/server.ts";

function handler(_req: Request): Response {
  return new Response("Hello, this is a Deno (https://deno.land/) web app deployed on Zeabur (https://zeabur.com)");
}

serve(handler, { port: Deno.env.get("PORT") });
Create a new file deno.json, and add the start command to the tasks field.
touch deno.json
# in deno.json
{
  "tasks": {
    "start": "deno run --allow-net --allow-env --allow-read main.ts"
  }
}
Development
Run deno task start to start the development server.
deno task startThen, you can modify the code to develop your TypeScript project.
When you finish, initialize a GitHub repository for it and upload to your GitHub.
Deploy
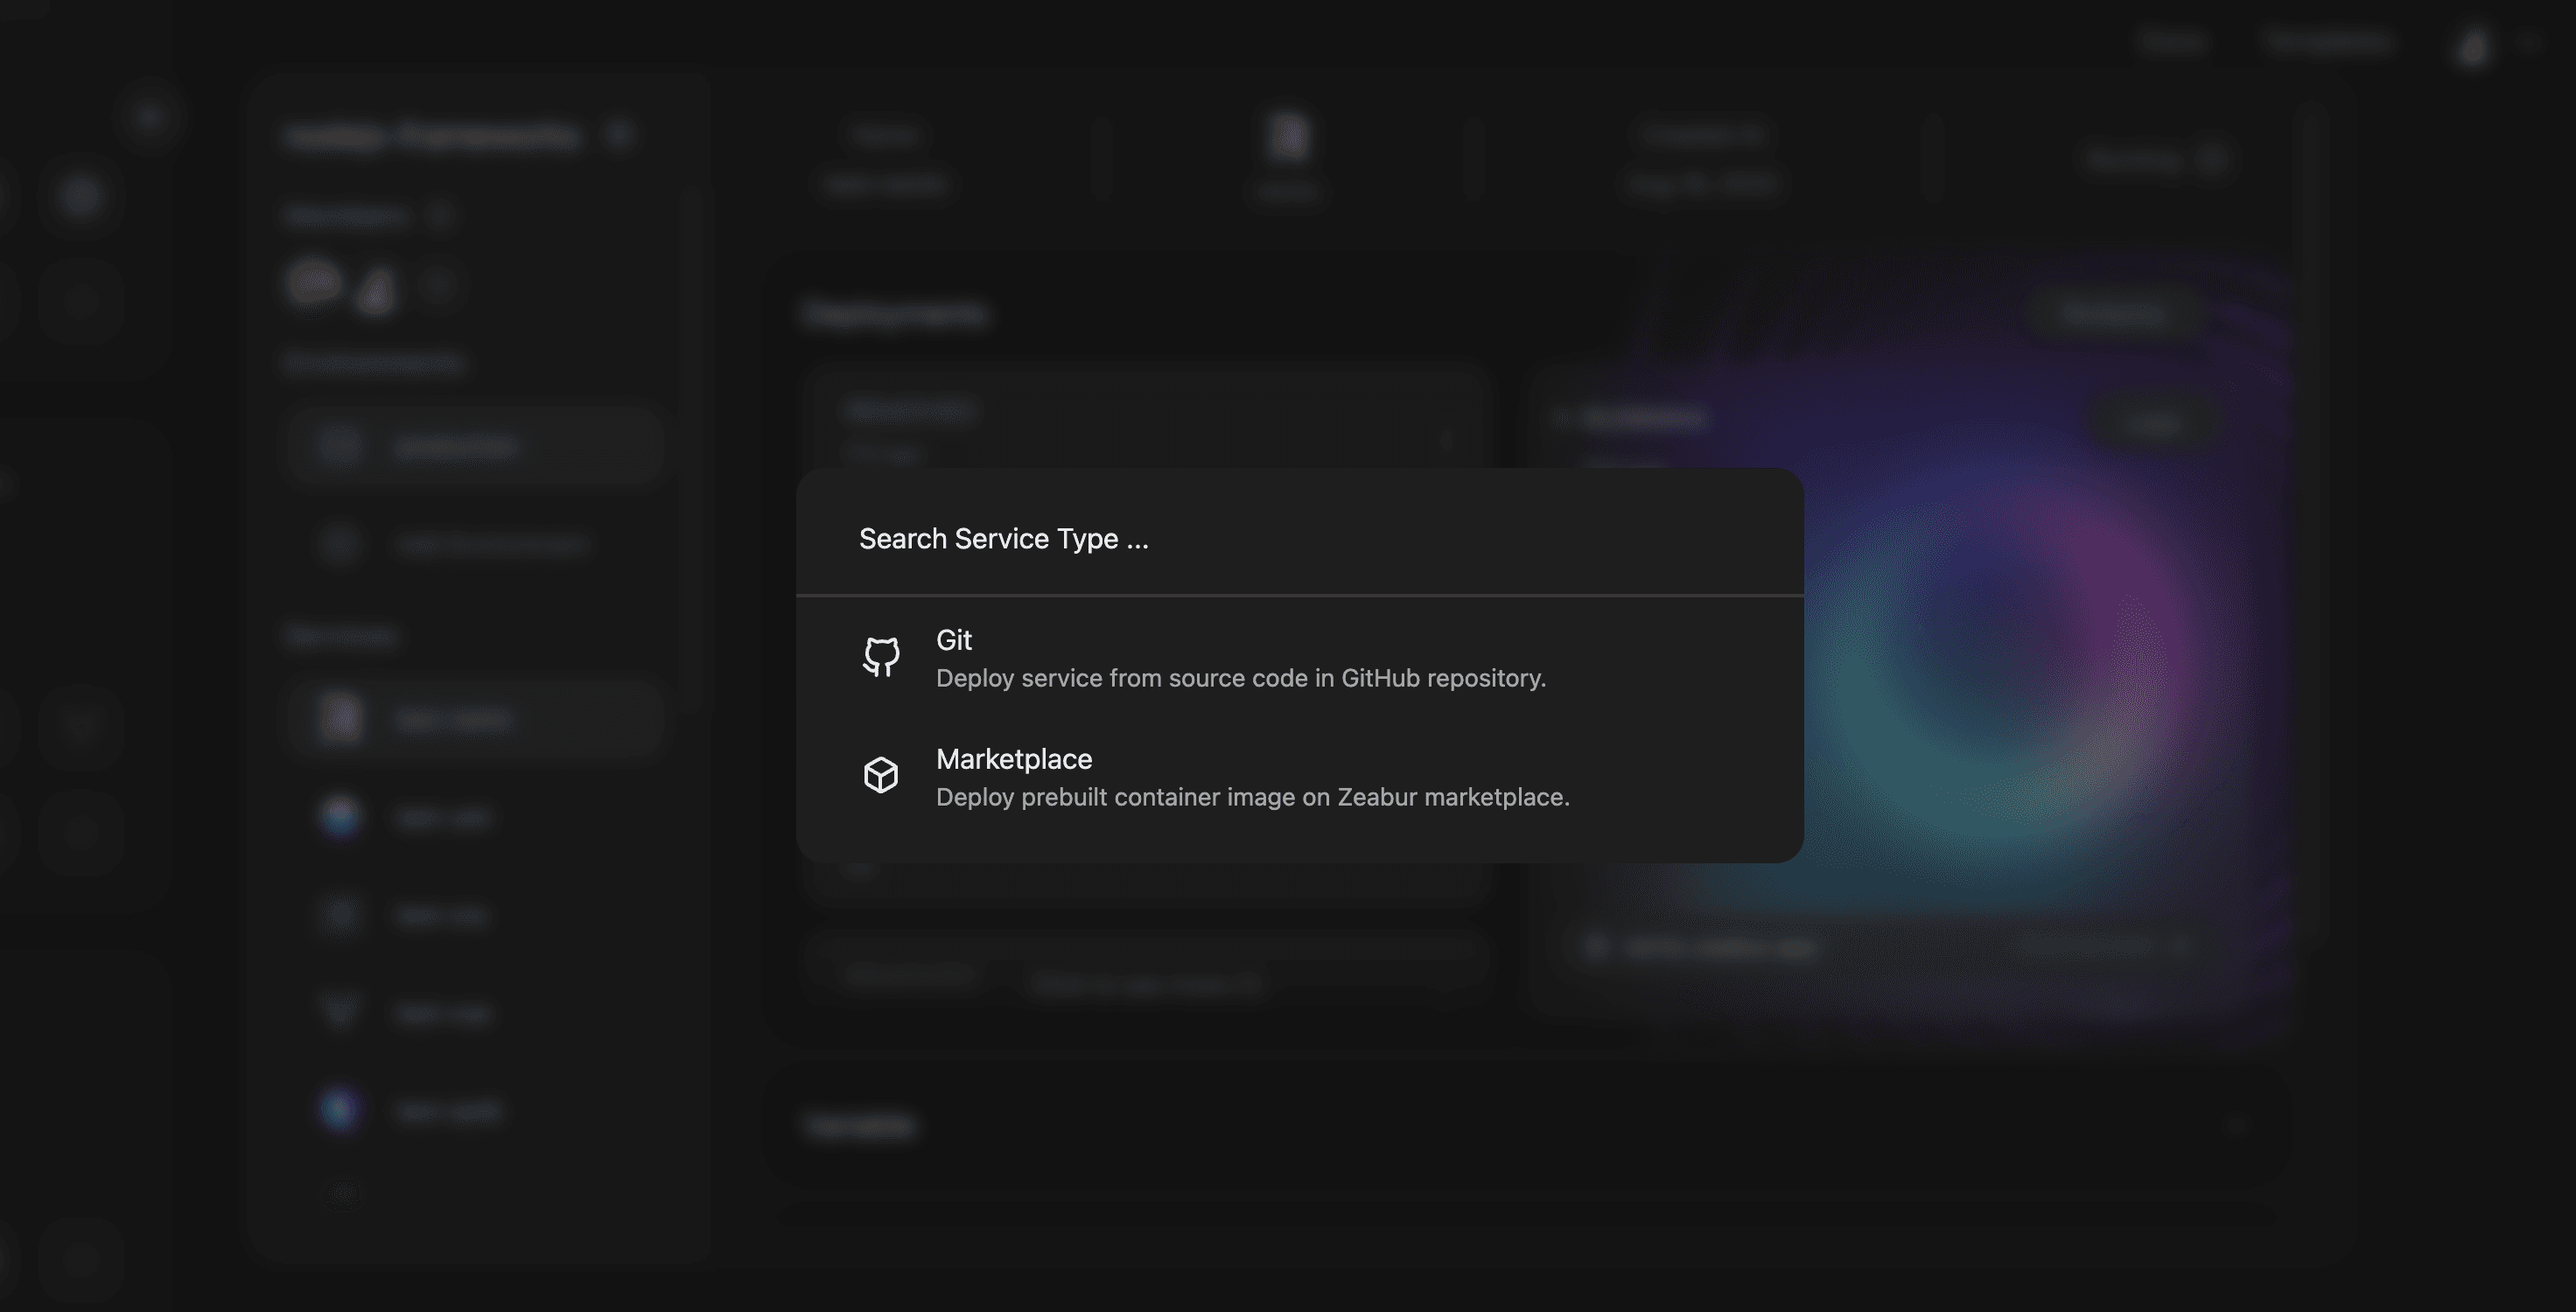
Click on Add new service button, then choose Deploy your source code.

Search for your Deno App repository, click on import, your Deno App will start deploying.