Deploy NestJS App
Deploy your NestJS app in Zeabur.
Step 1: Create NestJS app (optional)
You can use NestJS CLI to create a new app.
Open your terminal and run the following command:
npm install -g @nestjs/cliThen, create a new app:
nest new <your project name>You can also clone a starter project from our GitHub repository.
git clone https://github.com/zeabur/nestjs-template.git <your project name>Then, install the dependencies:
pnpm installStep 2: Setup environment variables
You can skip this step if you are using the starter project from our GitHub repository.
In Node.js applications, it’s common to use .env files, holding key-value pairs where each key represents a particular value, to represent each environment.
NestJS provides a package called @nestjs/config to help you manage your environment variables.
pnpm add @nestjs/configOnce the installation process is complete, You can import the ConfigModule into src/app.module.ts and control its behavior using the .forRoot() static method.
import { Module } from '@nestjs/common'
import { ConfigModule } from '@nestjs/config'

@Module({
  imports: [ConfigModule.forRoot()],
})
export class AppModule {}
Now, you can set up your port in src/main.ts
import { NestFactory } from '@nestjs/core';
import { AppModule } from './app.module';

async function bootstrap() {
  const app = await NestFactory.create(AppModule);
  await app.listen(process.env.PORT || 3000);
}
bootstrap().then(() =>
  console.log(`Application is running on: ${process.env.PORT || 3000}`),
);
Step 3: Deploy
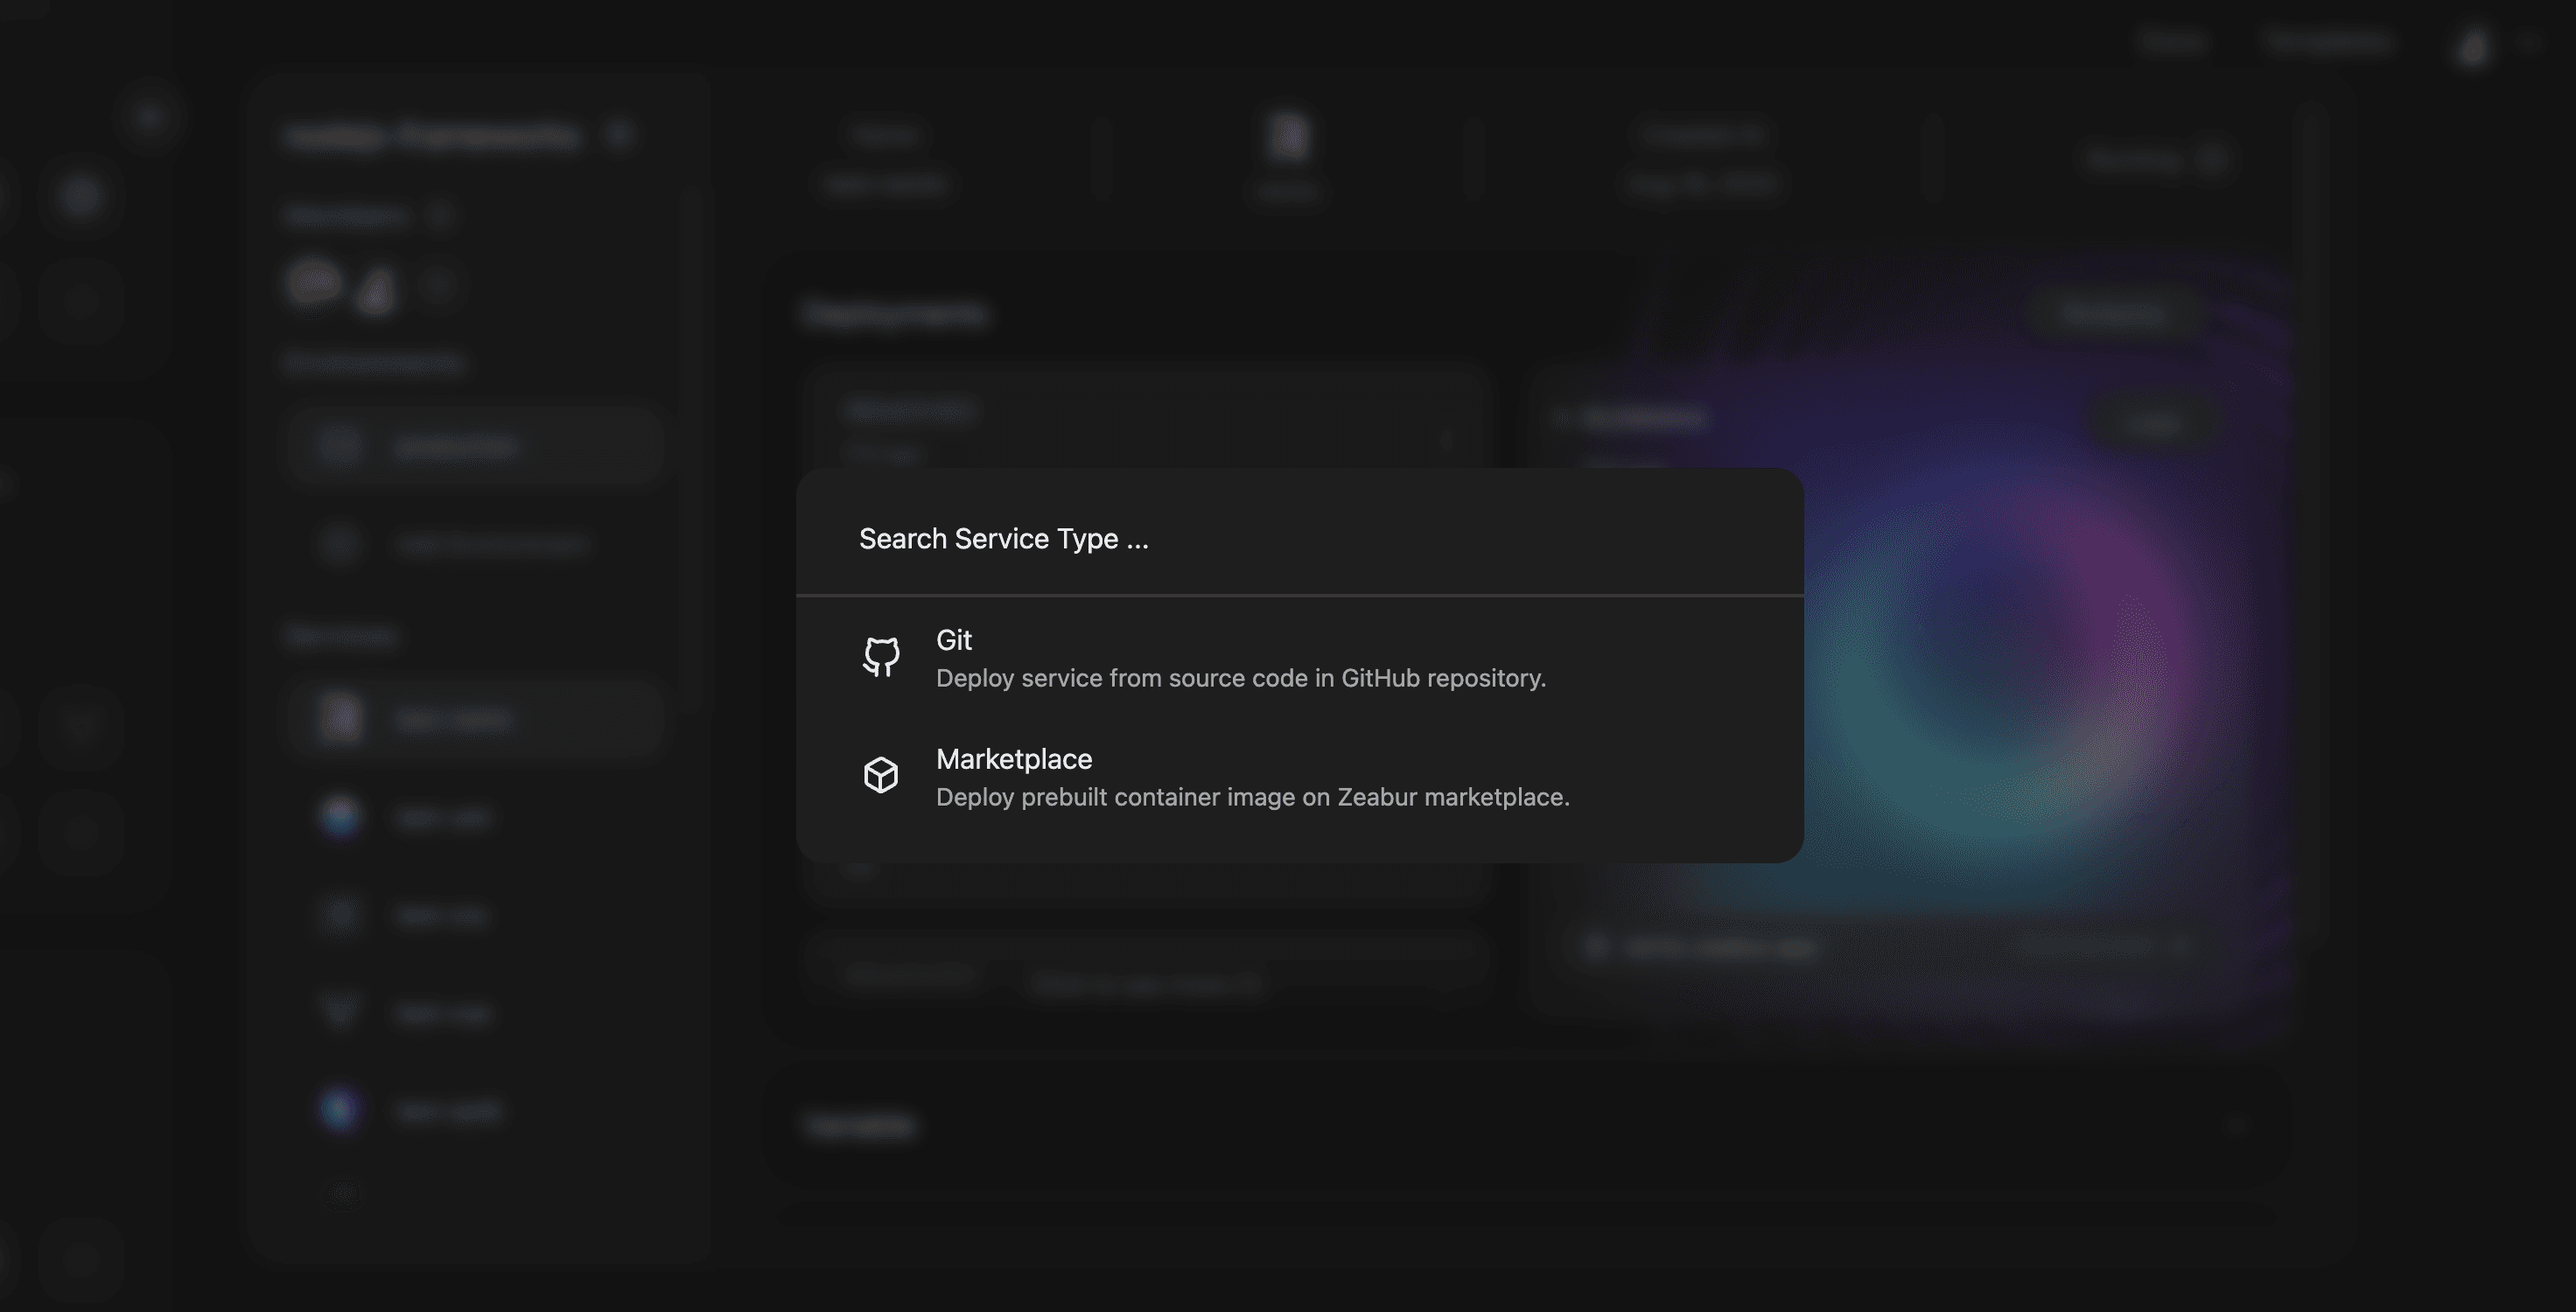
Click on Add new service button, then choose Deploy your source code.

Search for your NestJS App repository, click on import, your NestJS App will start deploying.