Deploy Django
This article will teach you how to deploy your Django project on Zeabur.
Step1: Install Django
Before starting, please make sure you have installed Python on your computer, if not, please install Python environment.
Confirm whether there is a Python environment.
python --versionOpen a terminal and execute the following command to install.
pip install djangoStep2: Create Django Project
Create a new Django project using the django-admin command, replacing project_name with your project name.
You can also use Django-template After using the Django example, you can skip the second step.
django-admin startproject project_nameStep3: Run Django Project
Open the Django project and execute the startup to check whether the local startup is successful.
cd project_name
python manage.py runserver
Step4: Deploy Django Project
To initialize a Git repository for it and deploy it to your GitHub, in your project, click the Deploy service or Add new service button and select Deploy your source code.

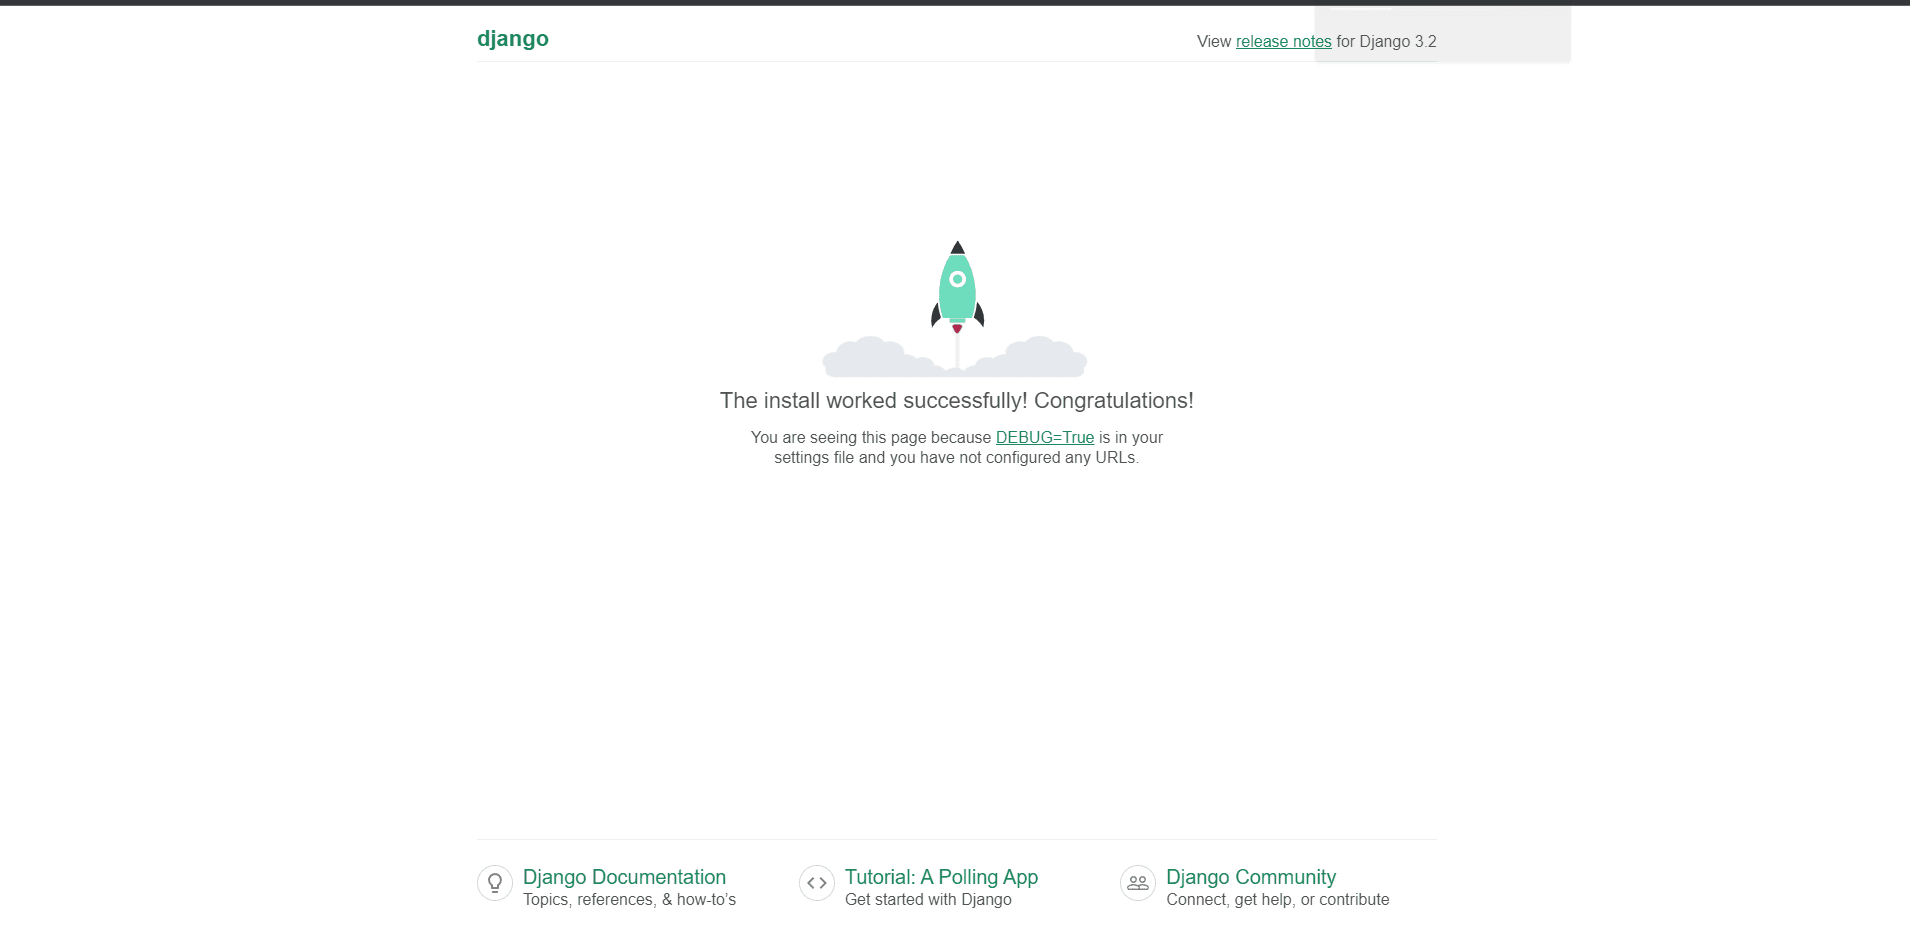
Launch the website success screen after the deployment is successful.

Please note that if an error occurs, please confirm whether there is configuration in the project:
- Check for
requirements.txt, the main purpose of this file is to list all the Python packages and their versions required by the project, It is used to ensure that the project has the same dependencies and versions in different development environments and production environments. If it is not configured, please use the following instructions in the project and push it to GitHub again.
pip freeze > requirements.txt- Check whether
ALLOWED_HOSTSinsettings.pyis set, this property is a Python List, which contains the domains that can access the Django application, you can useALLOWED_HOSTS = ['*'], which means that all networks are allowed domain for testing purposes. - Zeabur uses Gunicorn as the WSGI production server for running Django services.