Deploy Svelte Kit
Deploy your Svelte Kit project to Zeabur.
Step 1: Create a Svelte Kit project (optional)
Open your terminal and run
npm create svelte@latestNext, you need to install the dependencies:
pnpm installAfter that, initialize a Git repository and deploy it to your GitHub.
Step 2: Set up @zeabur/svelte-adapter
Next, you need to install @zeabur/svelte-adapter:
pnpm add -D @zeabur/svelte-adapterThen, open svelte.config.js and change it to:
import adapter from '@zeabur/svelte-adapter'; // <-- Note this line

export default {
  kit: {
    adapter: adapter()
  }
}
Step 3: Deploy Svelte Kit project
Method 1: Using the Zeabur CLI
First, ensure that you have installed the Zeabur CLI according to the guide Deploy in CLI.
Then, in your newly initialized Svelte Kit project, add uncommitted files to Git.
git add -A
git commit -m "Initial commit"
Next, deploy your service using the command below.
zeaburMethod 2: Using the Zeabur Dashboard
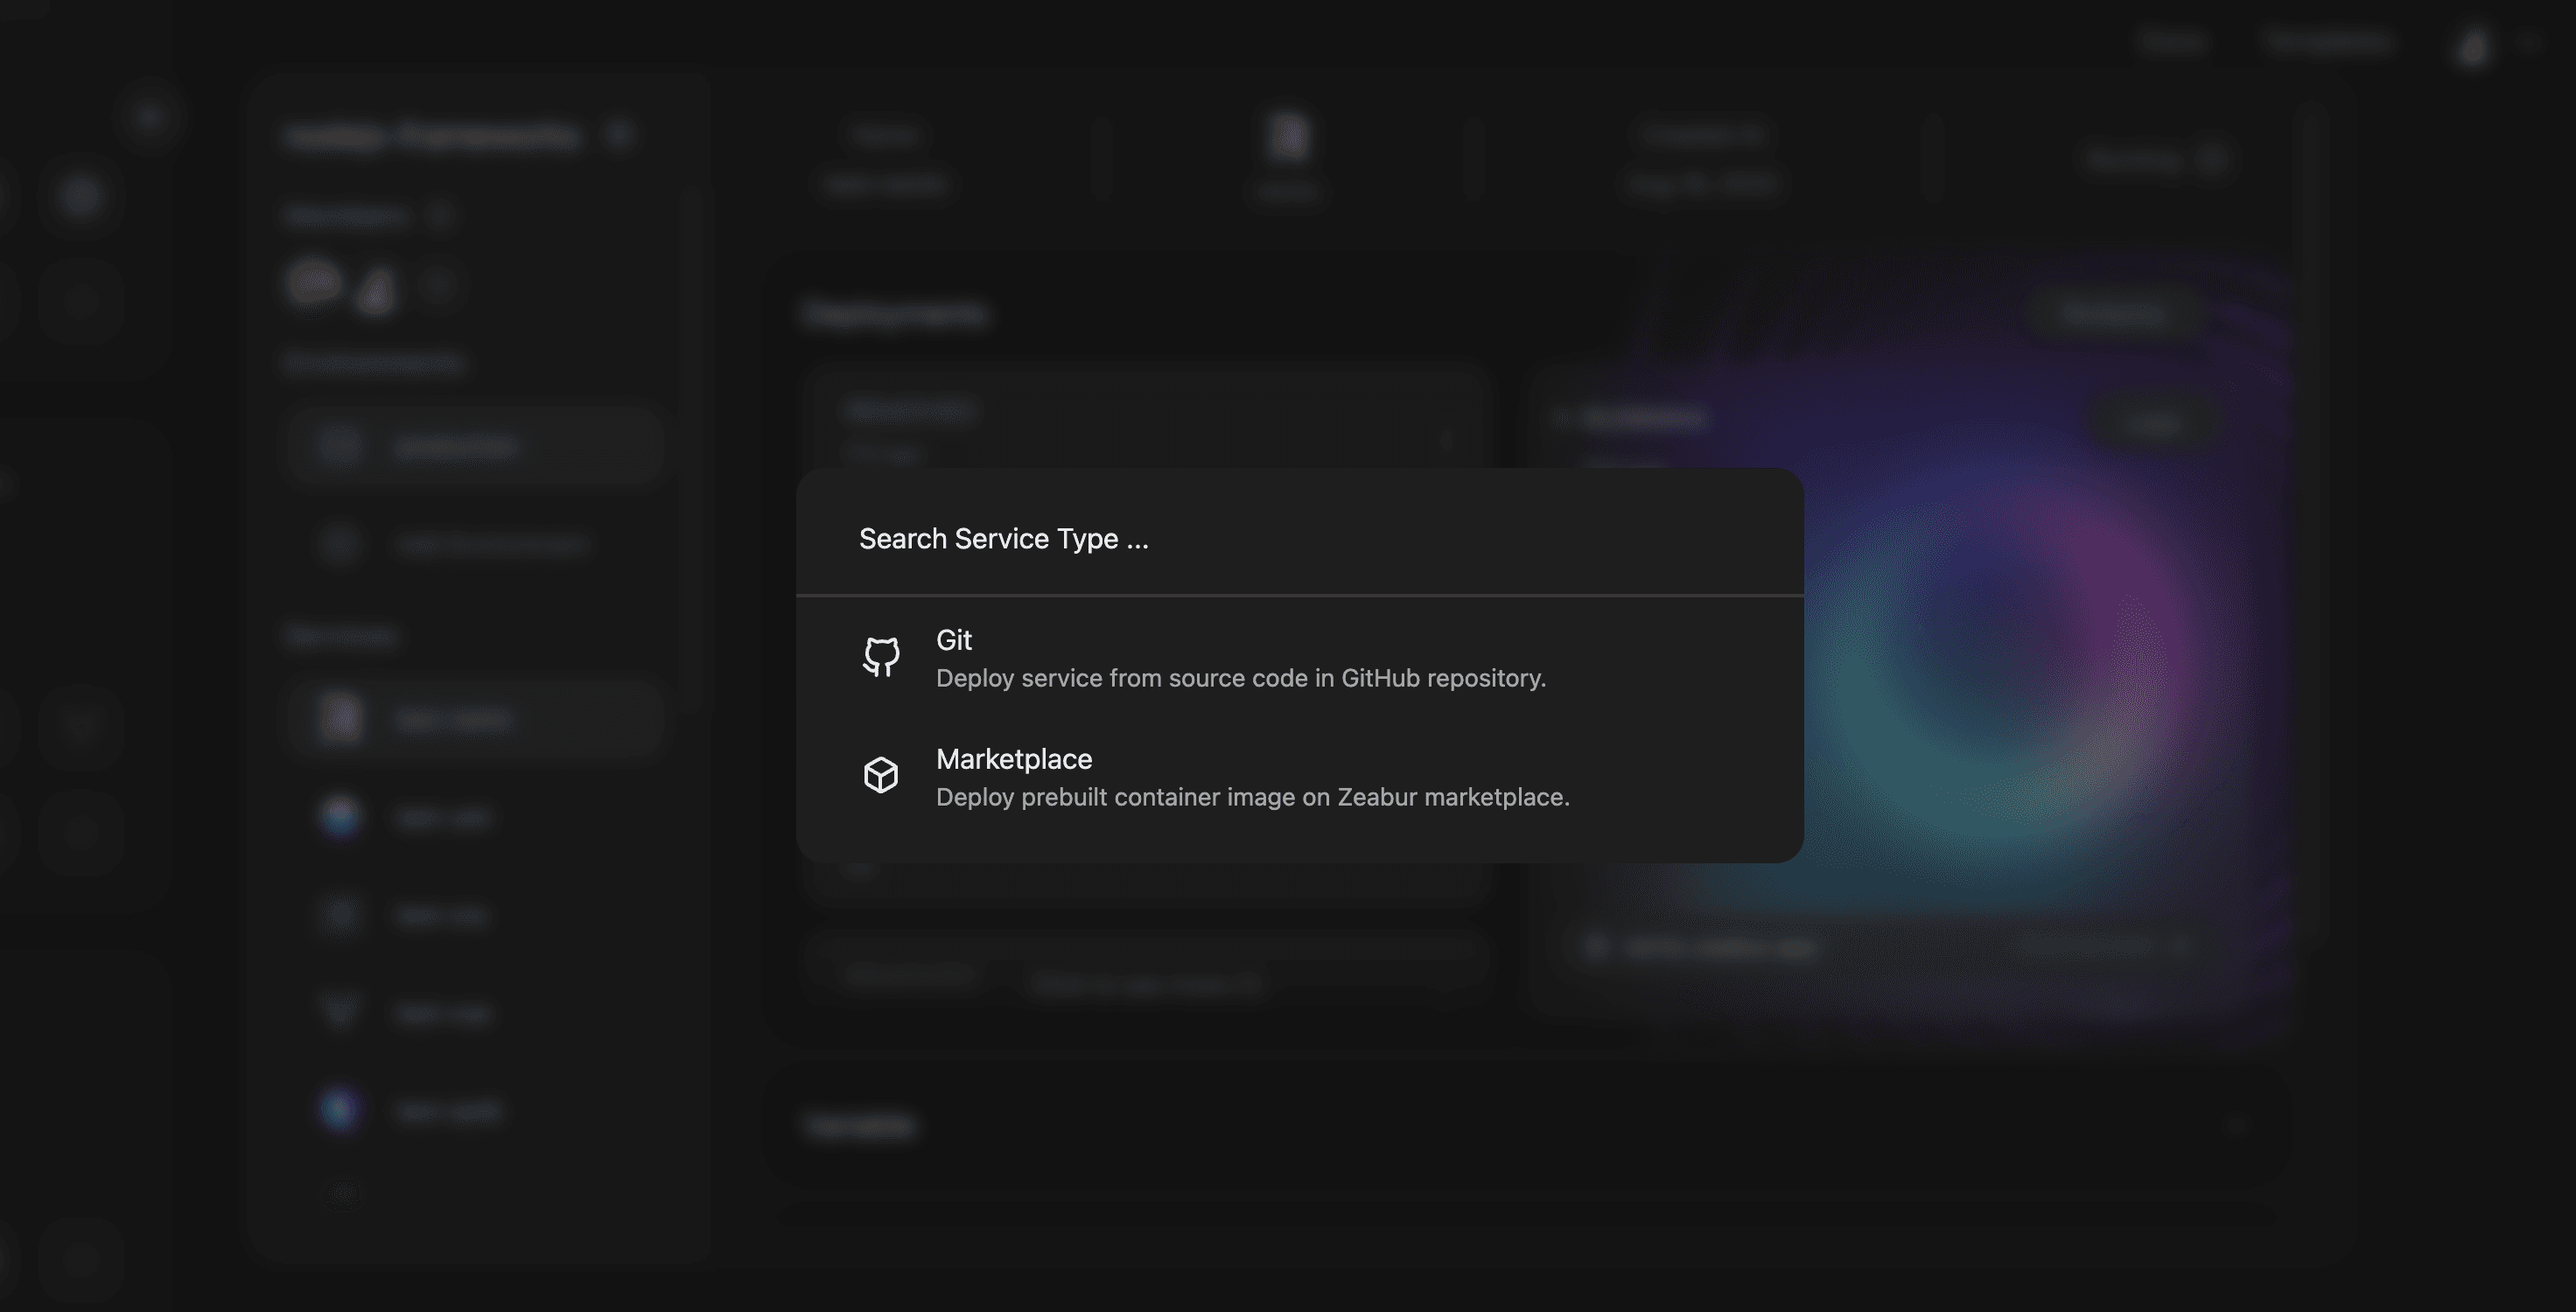
In your project, click Deploy service or Add new service and select Deploy your source code.

Search for the Svelte Kit code repository you want to deploy, and click import. Your Svelte Kit app will automatically start deploying.
Step 4: Bind a Domain
After the deployment is complete, you may need to configure a domain for your site.
Open the “Domain” tab on the service page and click on “Generate Domain” or “Custom Domain”.
For more information on how to bind a domain to your service, please refer to Bind a domain.