編輯設定檔
在執行服務時,你可以透過設定檔來自訂服務的各項設定,Zeabur 提供了設定檔編輯器,讓你可以透過編輯器來指定設定檔的儲存位置和內容。在服務啟動時,會自動掛載配置檔案。
這裡我們使用 NGINX 反向代理內網的 vaultwarden 服務,來示範設定檔編輯器更改 NGINX 設定檔的流程。
步驟一:建立項目
在 Zeabur Dash 建立 Project。
步驟二:建立服務
在上述 Project 中分別建立 NGINX 和 Vaultwarden 的 Prebuilt Service。
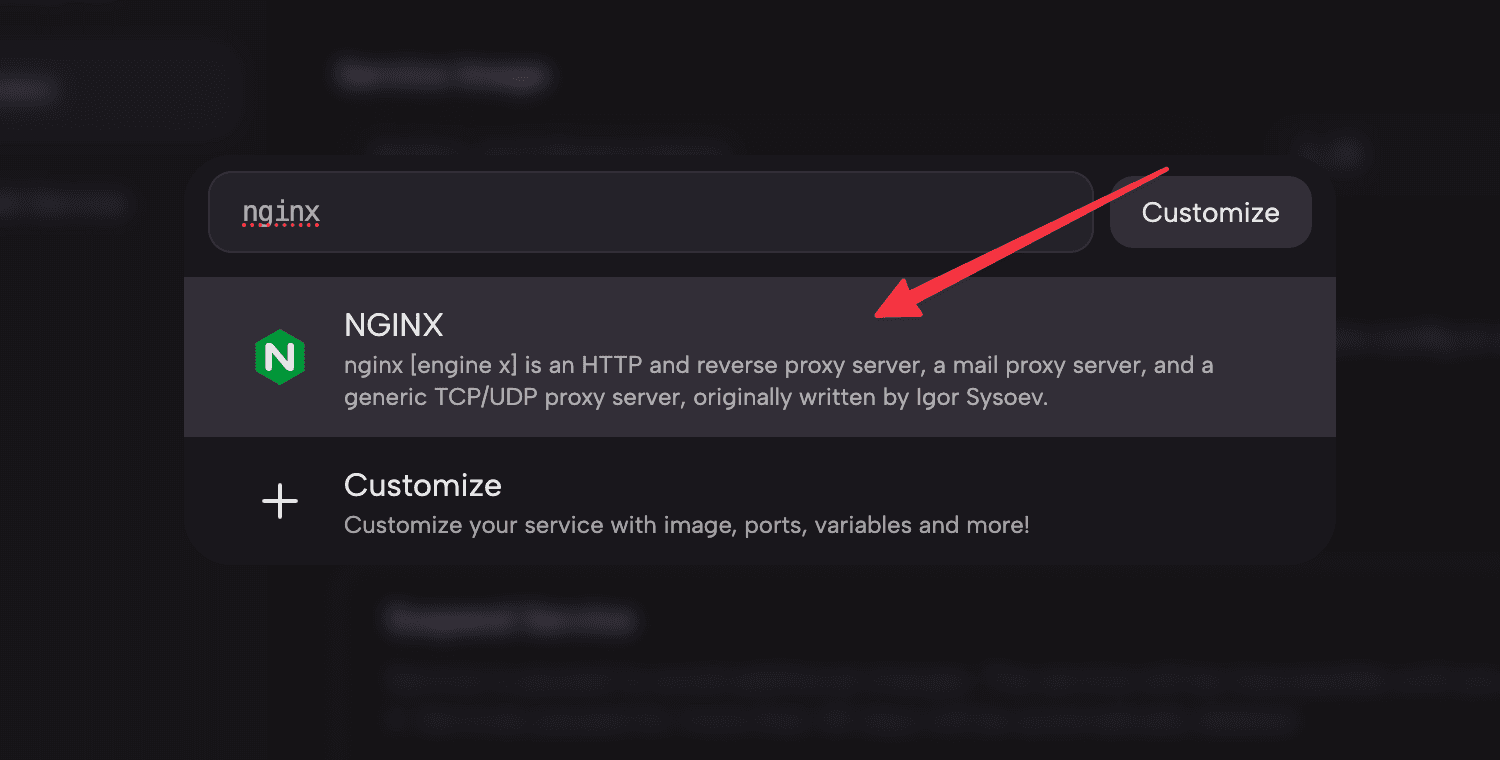
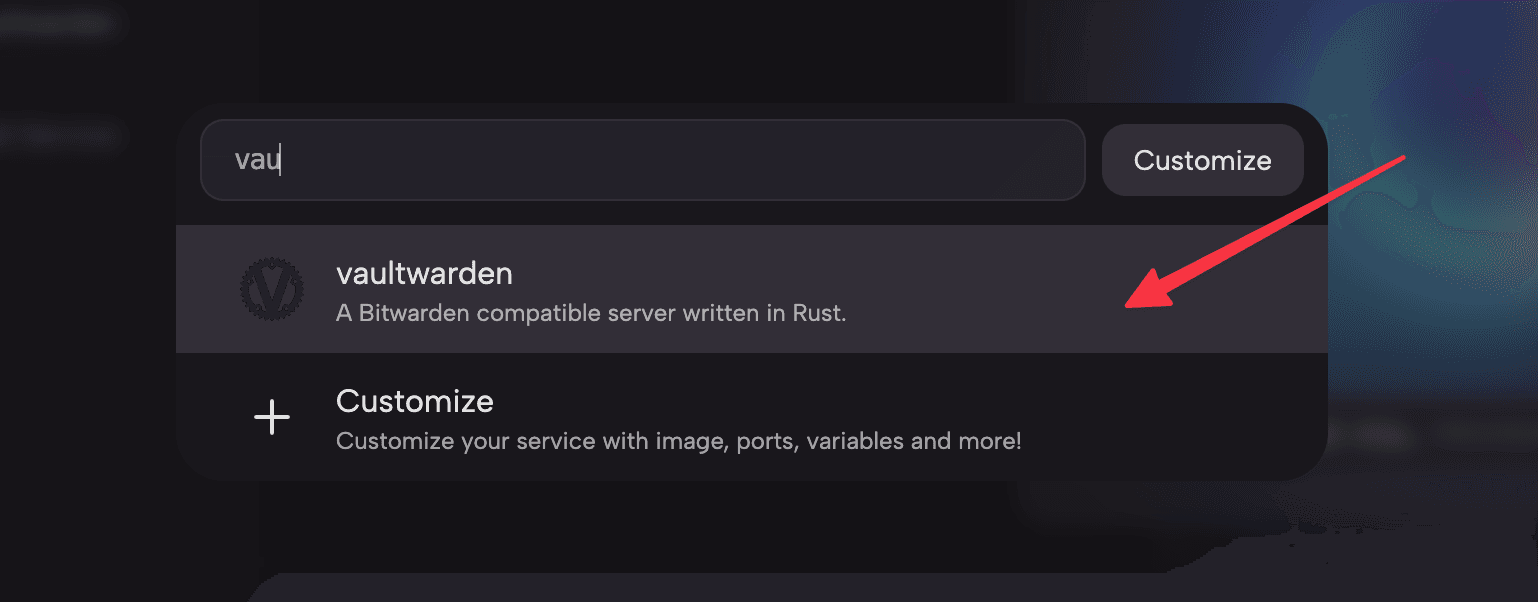
步驟三:編輯 Nginx 服務設定檔
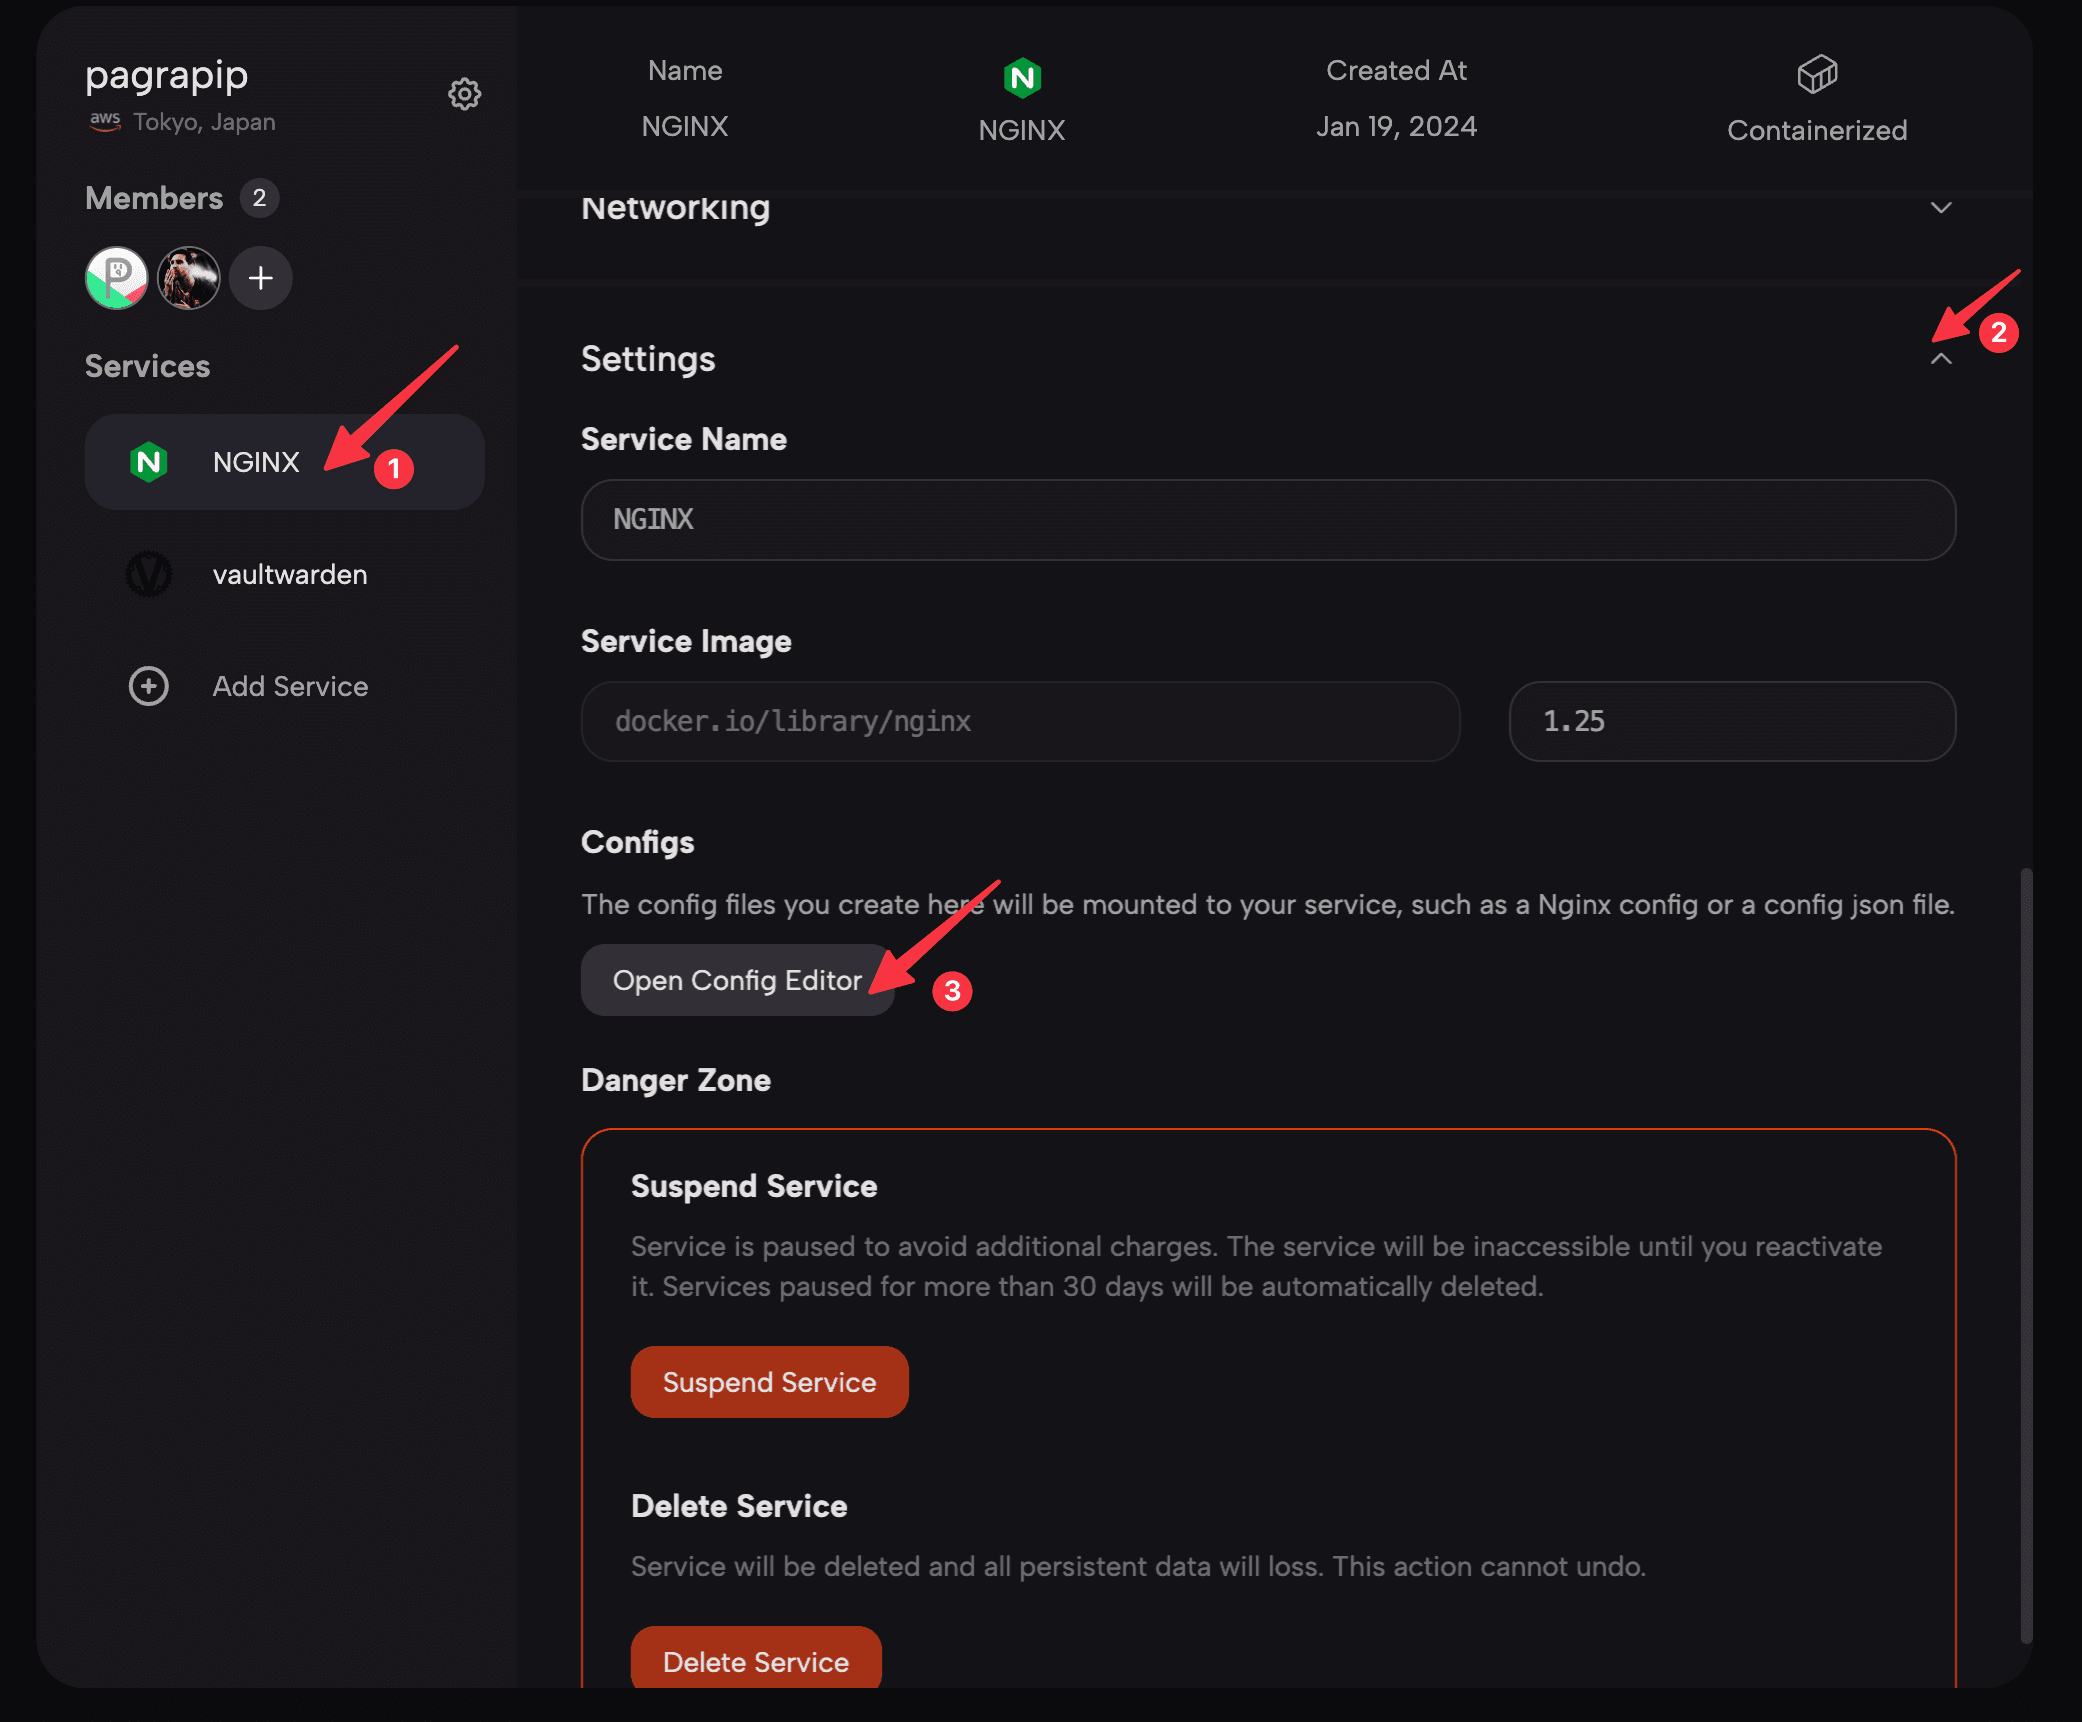
- 在 Services 區中,點選 NGINX 服務的
Settings區塊的下拉按鈕,找到Configs部分後點選Open Config Editor按鈕,進入設定檔編輯器。
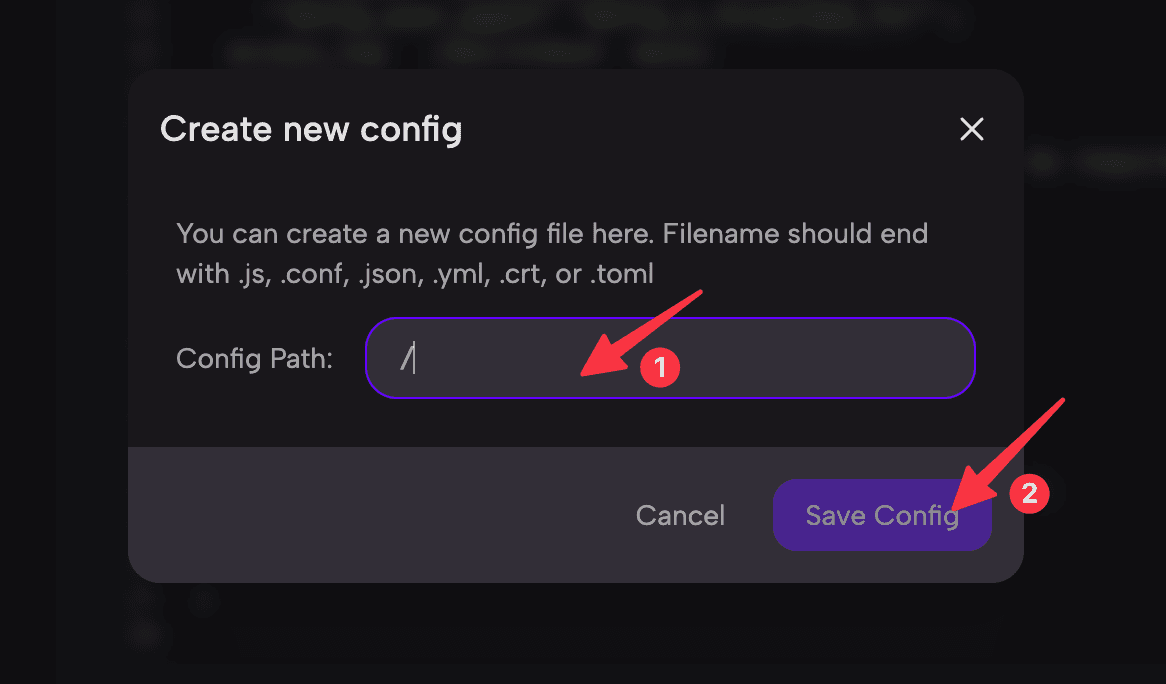
- 在打開的編輯器中,點選
Add Config file按鈕新增一個設定檔。在彈出表單的Config Path輸入框打上設定檔的路徑和名稱,這裡我們輸入/etc/nginx/nginx.conf,接著點選Save Config按鈕。
💡
上方的 Config Path 需要輸入設定檔的絕對路徑,請根據實際情況調整。
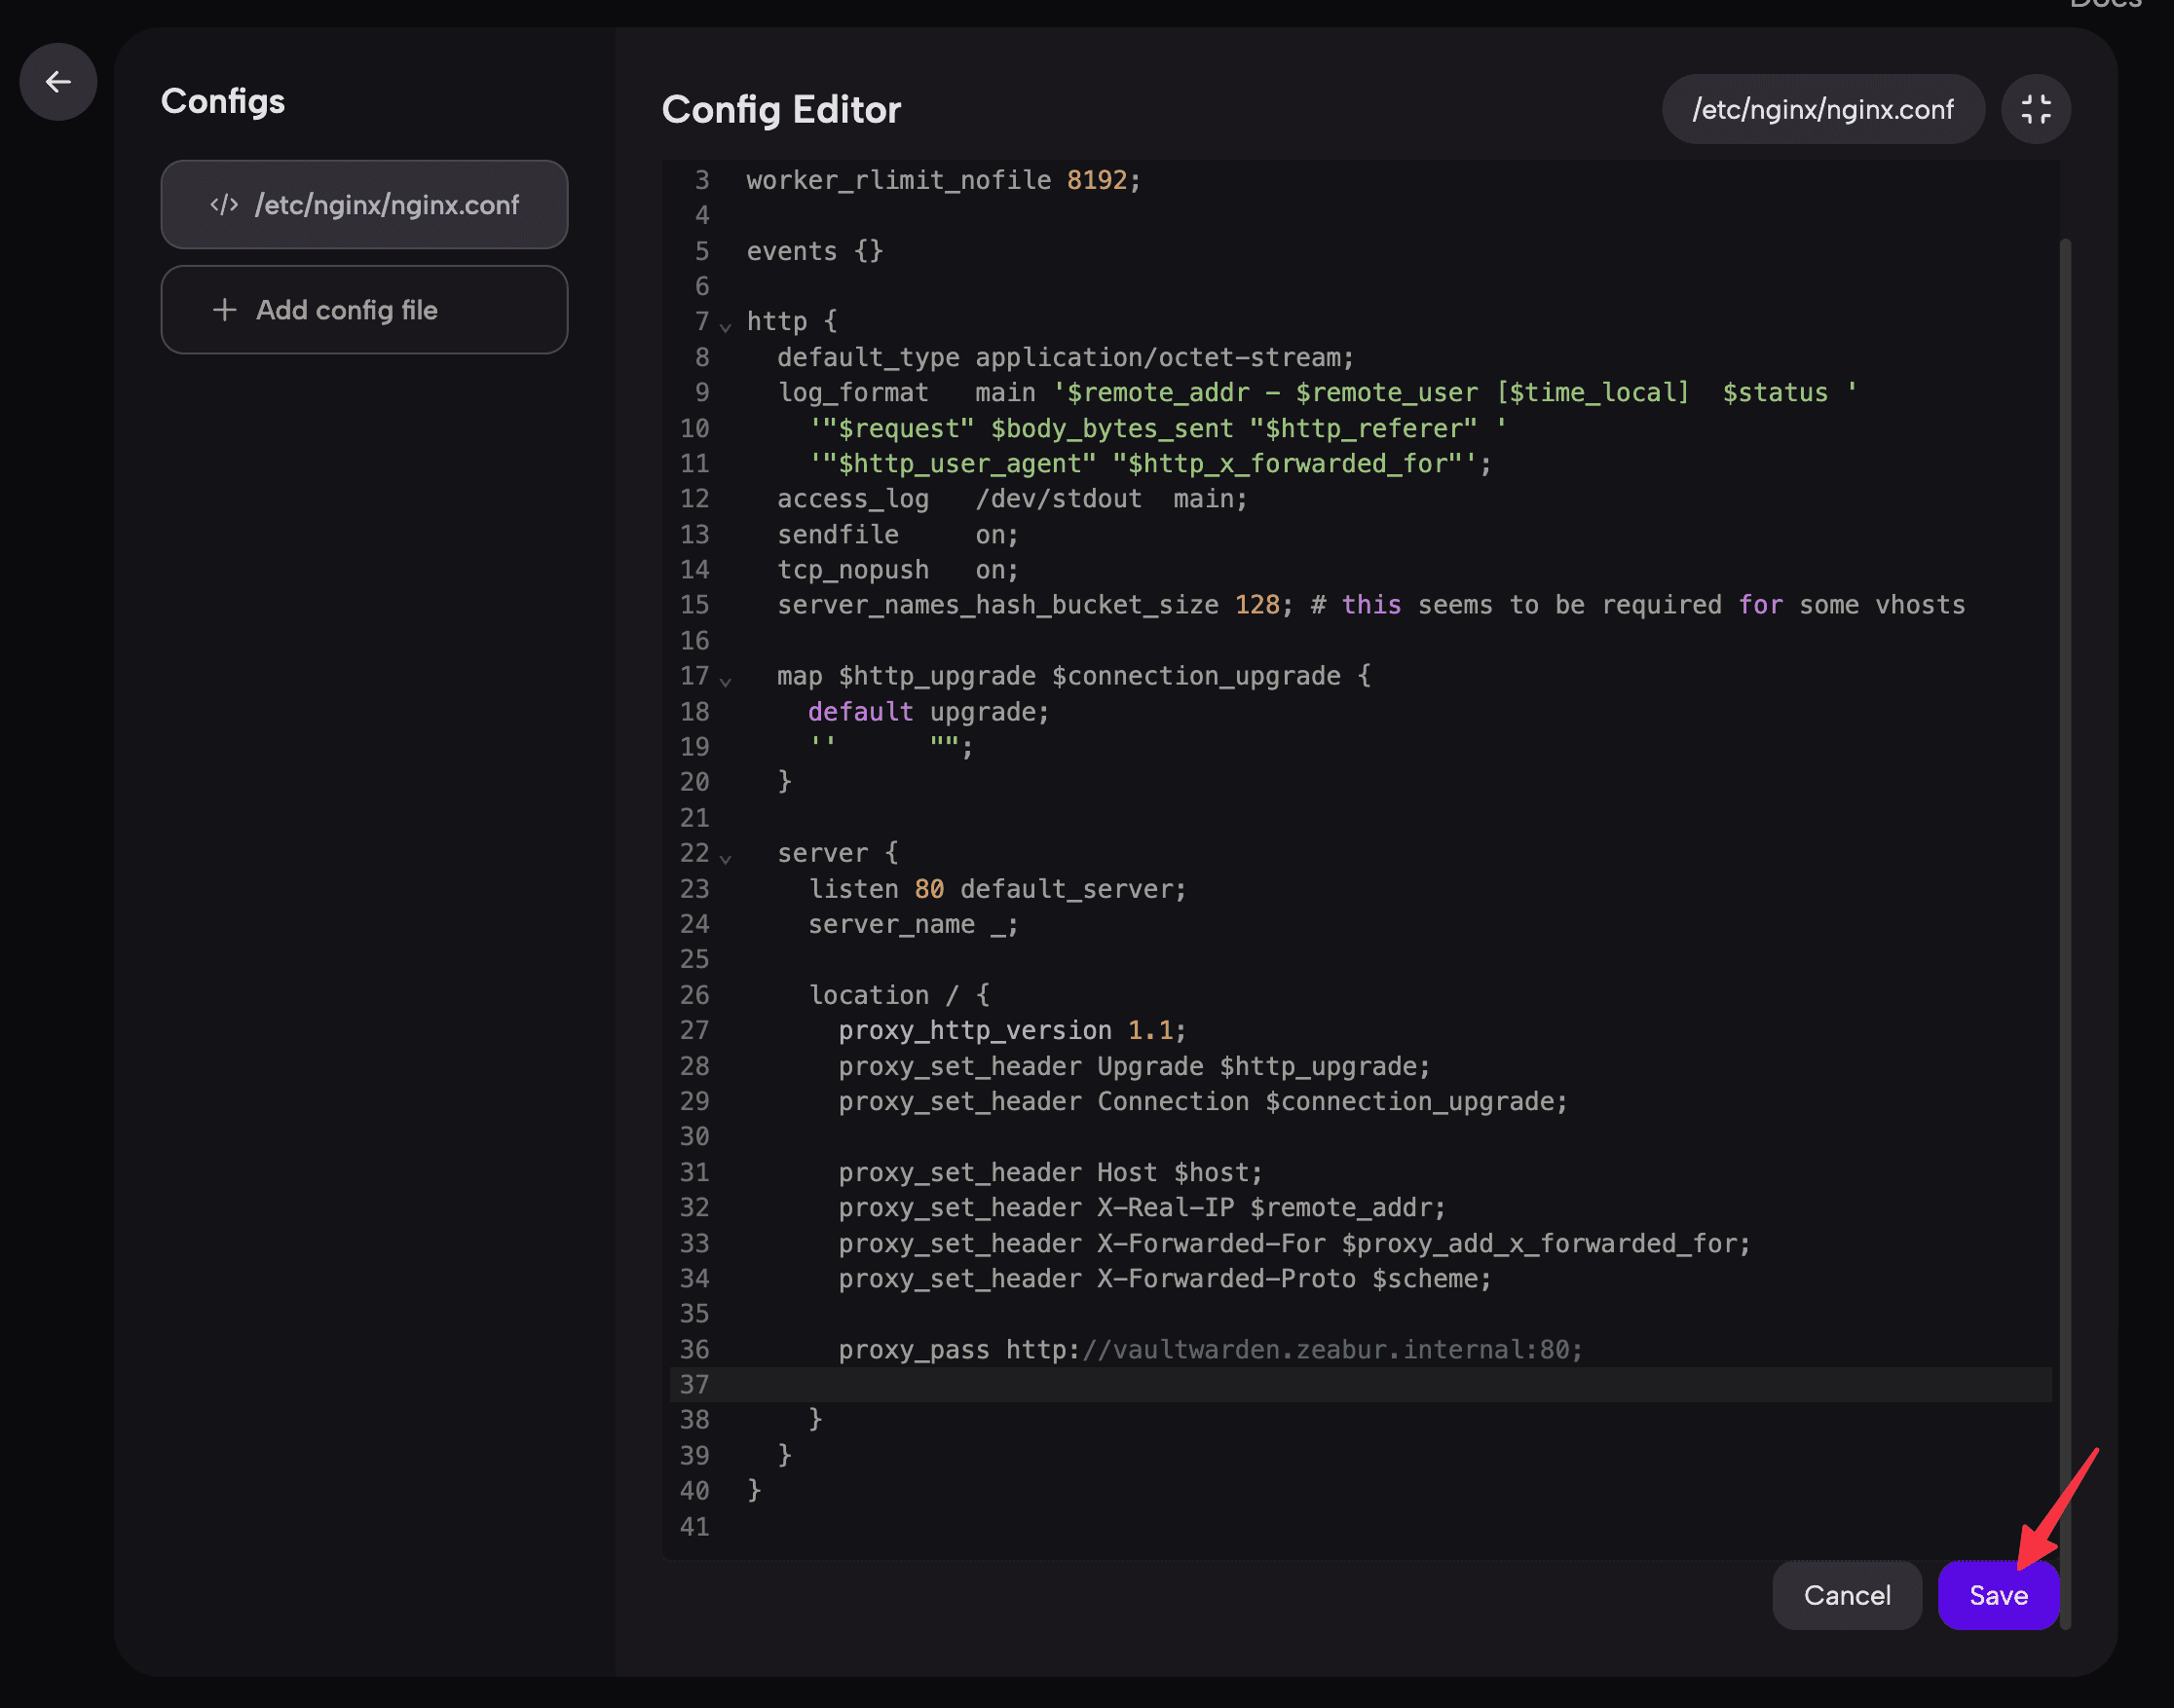
- 根據需求編輯設定檔的內容,這裡我們新增一個
server區塊,用來反向代理 Vaultwarden 服務。
worker_processes  4;
error_log  stderr;
worker_rlimit_nofile 8192;

events {}

http {
  default_type application/octet-stream;
  log_format   main '$remote_addr - $remote_user [$time_local]  $status '
    '"$request" $body_bytes_sent "$http_referer" '
    '"$http_user_agent" "$http_x_forwarded_for"';
  access_log   /dev/stdout  main;
  sendfile     on;
  tcp_nopush   on;
  server_names_hash_bucket_size 128; # this seems to be required for some vhosts

  map $http_upgrade $connection_upgrade {
    default upgrade;
    ''      "";
  }

  server {
    listen 80 default_server;
    server_name _;

    location / {
      proxy_http_version 1.1;
      proxy_set_header Upgrade $http_upgrade;
      proxy_set_header Connection $connection_upgrade;

      proxy_set_header Host $host;
      proxy_set_header X-Real-IP $remote_addr;
      proxy_set_header X-Forwarded-For $proxy_add_x_forwarded_for;
      proxy_set_header X-Forwarded-Proto $scheme;

      proxy_pass http://vaultwarden.zeabur.internal:80;
    }
  }
}
為了讓其他人可以透過 NGINX 服務存取我們的內部 Vaultwarden 服務,我們在 NGINX 中使用 proxy_pass http://vaultwarden.zeabur.internal:80; 指令,表示讓 NGINX 將連線到此處的所有請求都代理到 Vaultwarden。我們利用 私有網路 功能,在我們的私有網路中透過固定主機名稱存取 Vaultwarden。
- 點選
Save按鈕儲存設定。
步驟四:重新啟動服務
在上述步驟中,我們已經完成了設定檔的編輯,接下來我們需要重新啟動服務。點選服務狀態的「重新啟動服務」按鈕重新啟動服務,以使設定檔生效。

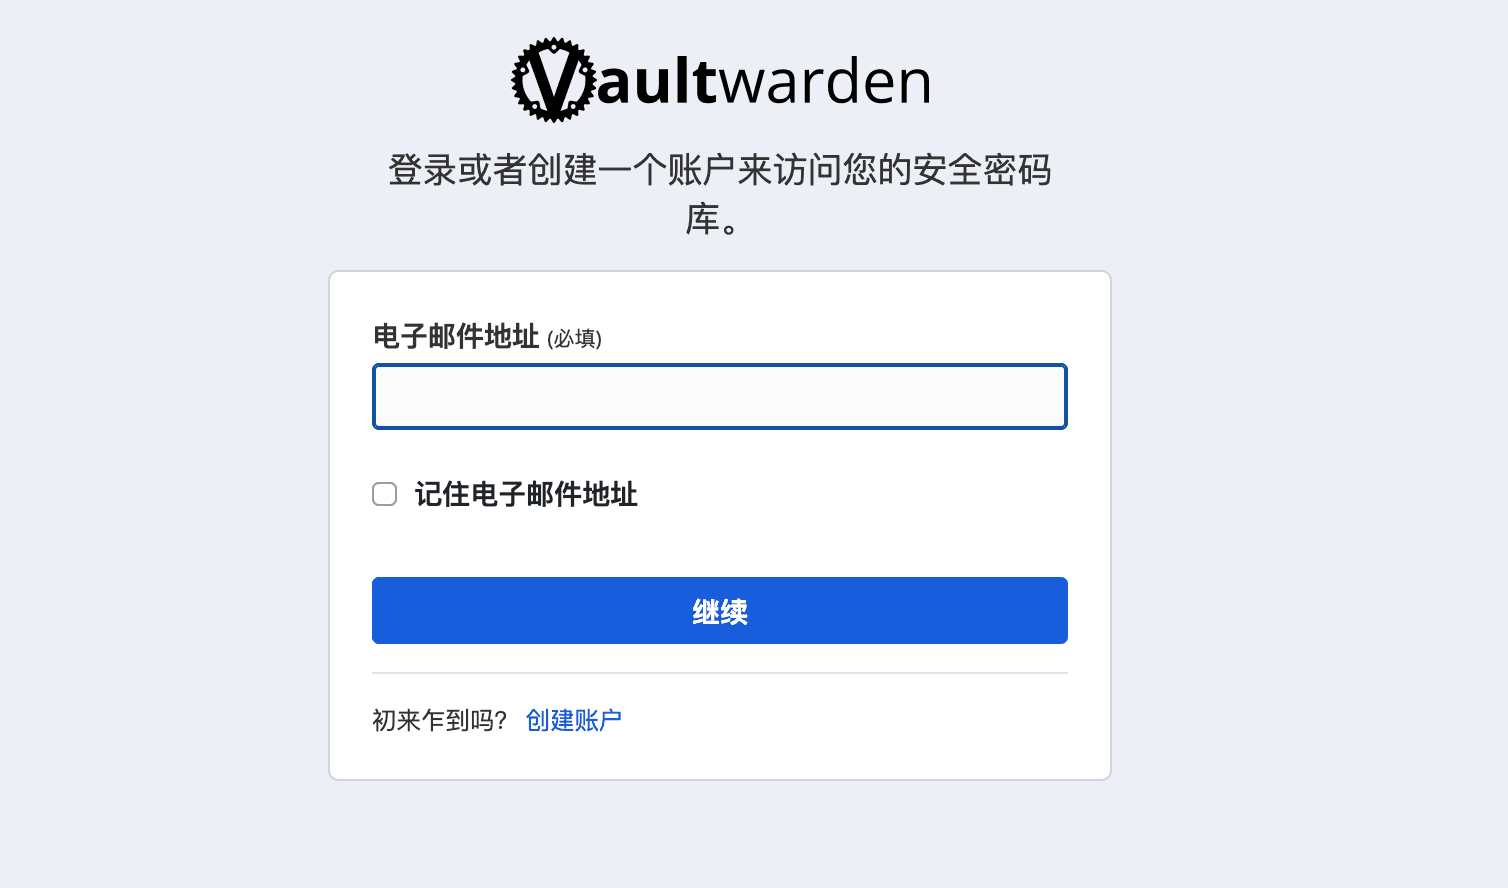
將網域綁定到 NGINX 服務後,即可透過網域造訪 Vaultwarden 服務。
在 Template YAML 中預先指定設定檔
您可以在「服務規格」中使用 configs 來預先指定這個服務的設定檔。相關資訊可參考〈從 YAML 建立模板〉一文。